Instructions
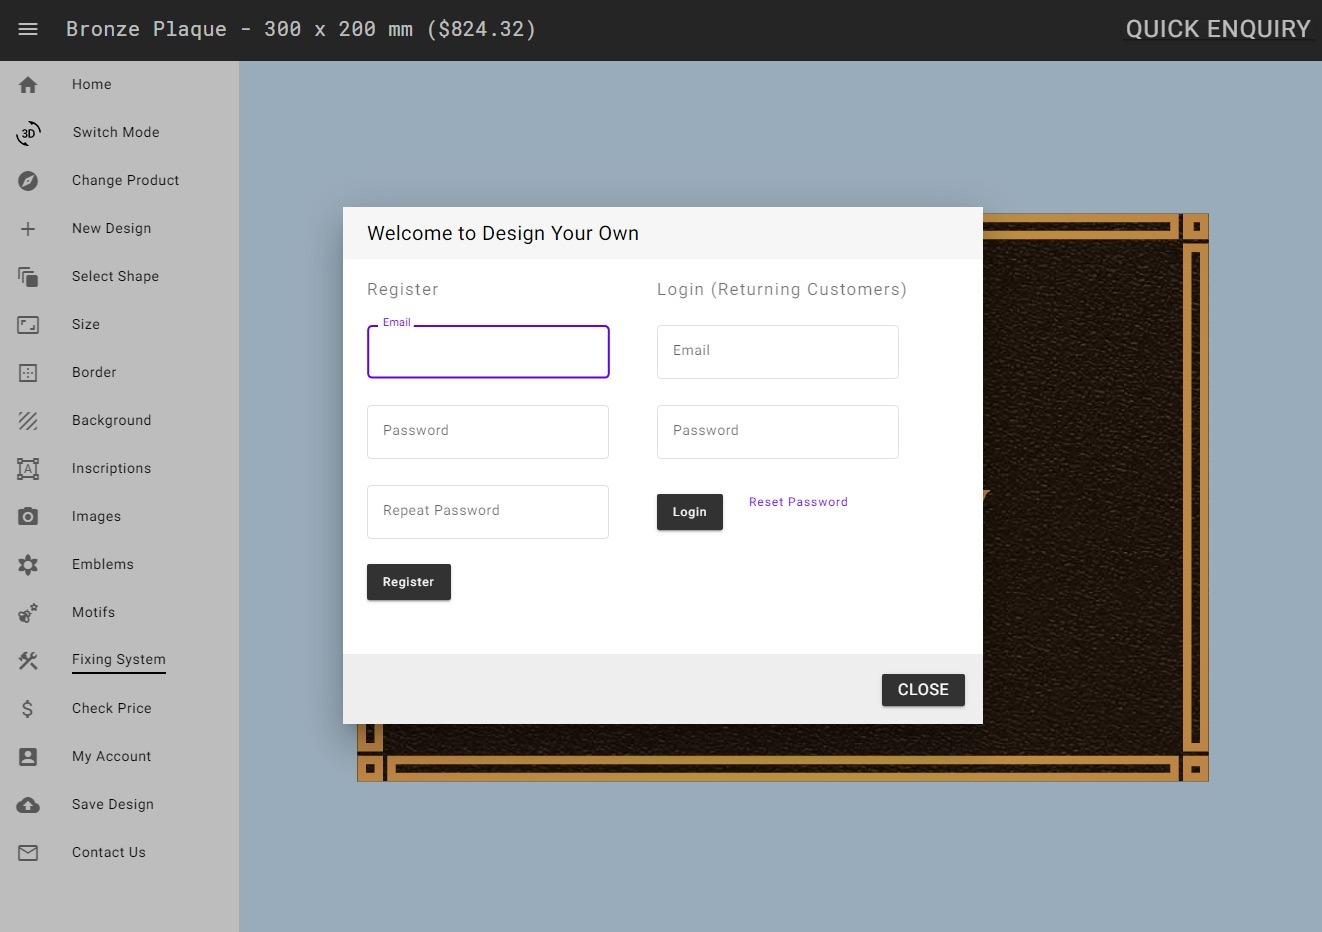
Design Your Own
How to add Inscriptions to the Bronze Plaque ?
Inscriptions commemorate the lost family member or friend in an individual way.
Inscriptions are cast into the metal and then machined to highlight the natural bronze colour.
Inscriptions can be added in a range of fonts and sizes.
The first eight lines are free.
Instructions


Click on the “Inscriptions” in the Drawer Menu on the left side or click here to open Inscriptions Panel in a new tab.
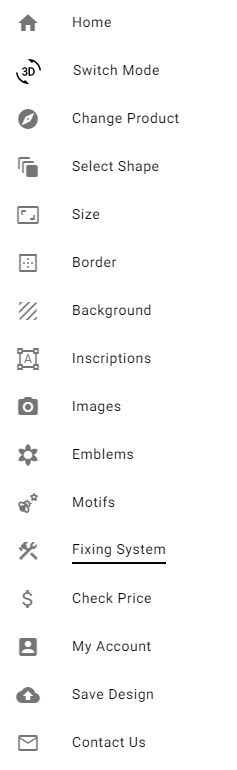
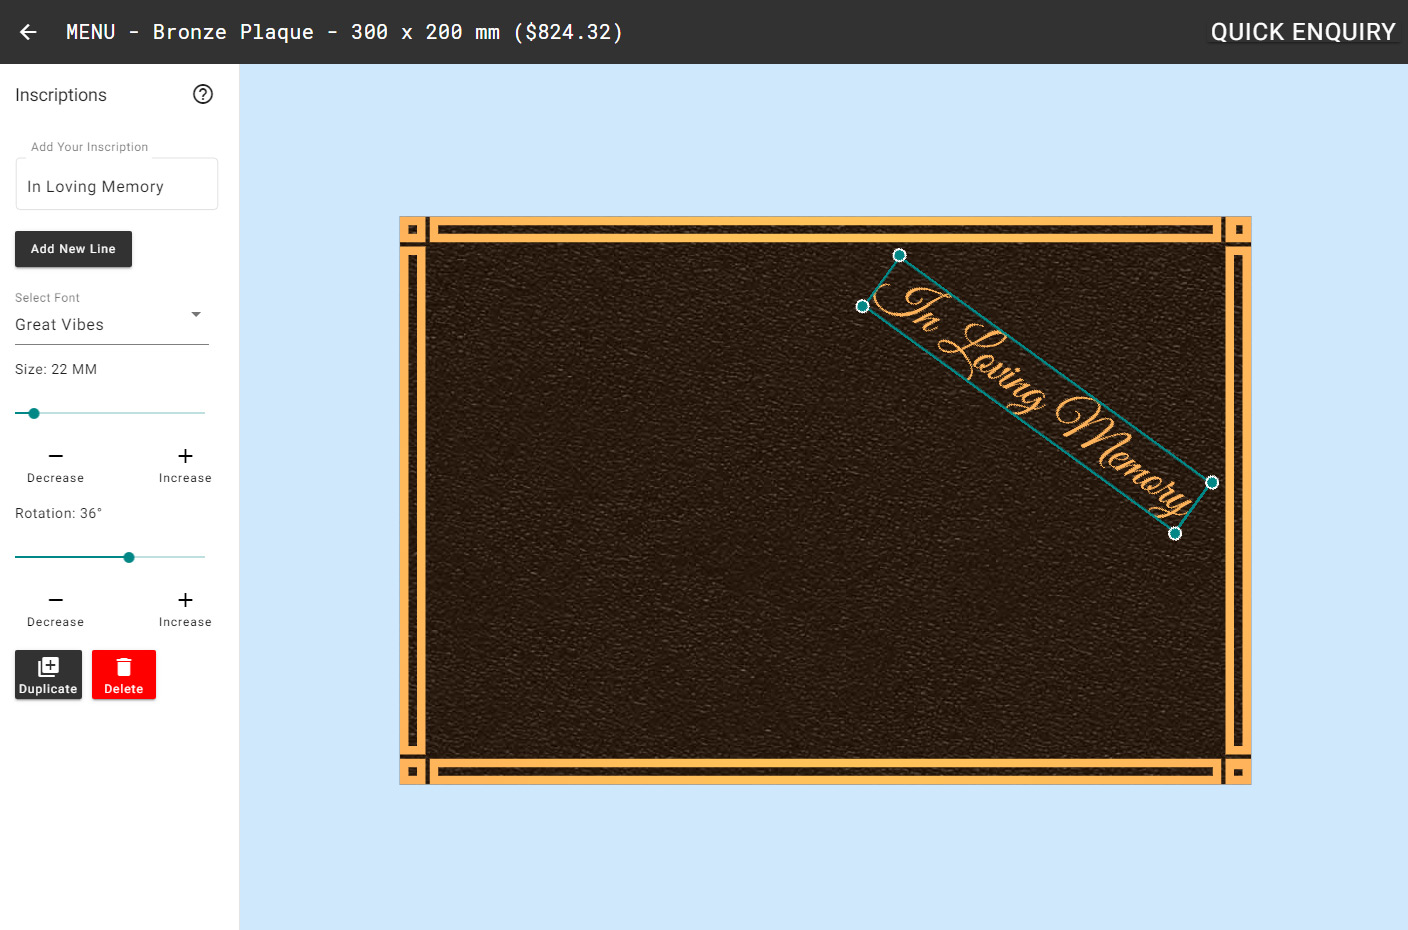
Step 1. Add Your Inscription.
To add an Inscription, click into the box titled ‘Add Your Inscription’ on the left-hand side of the window and type your message. The inscription will appear on your design and additional controls will appear in the left menu.
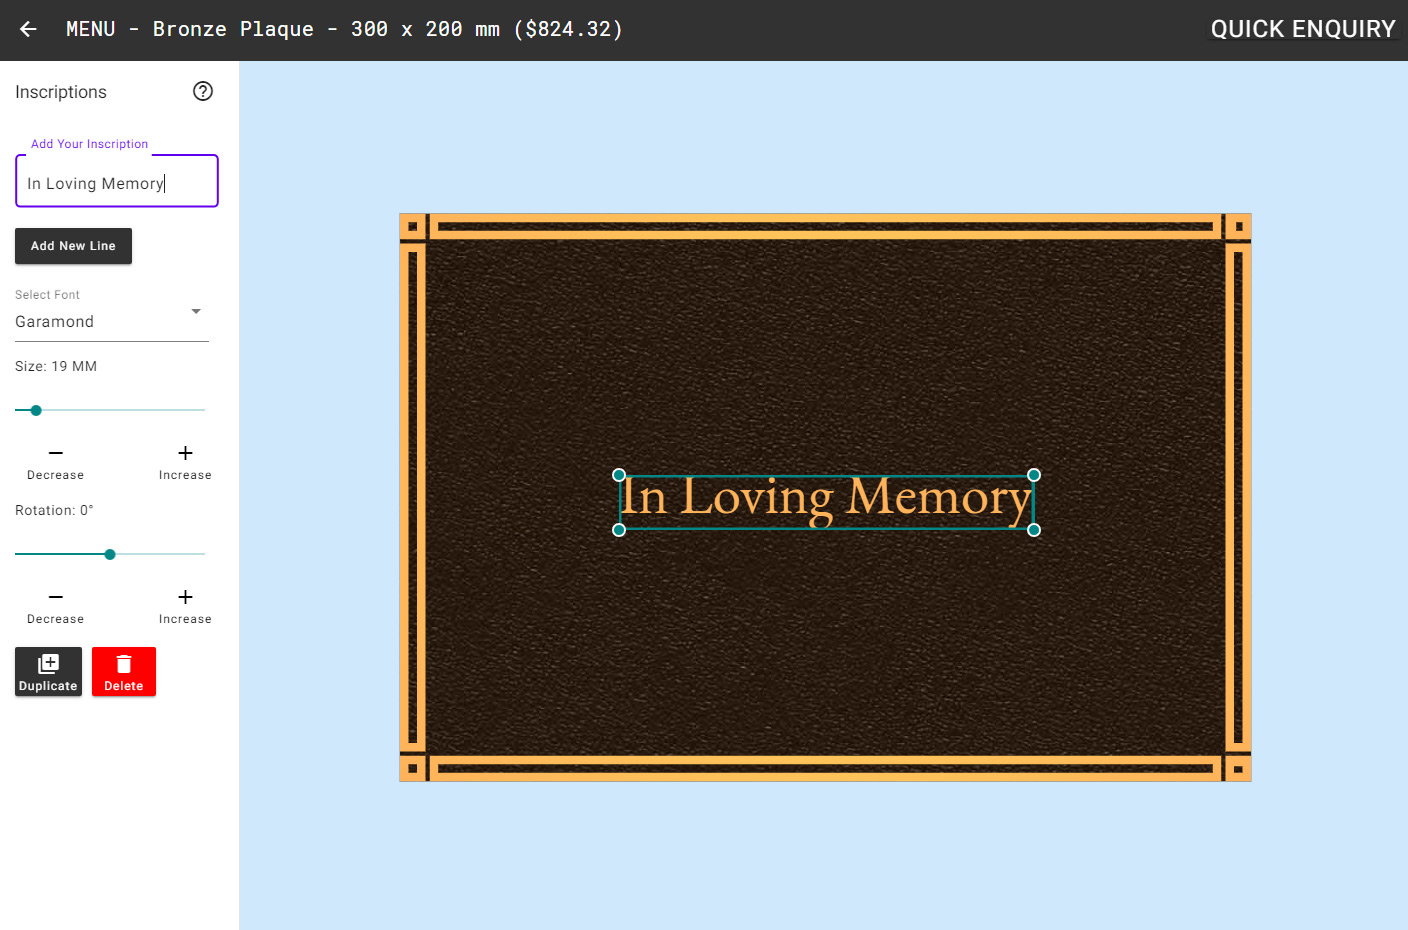
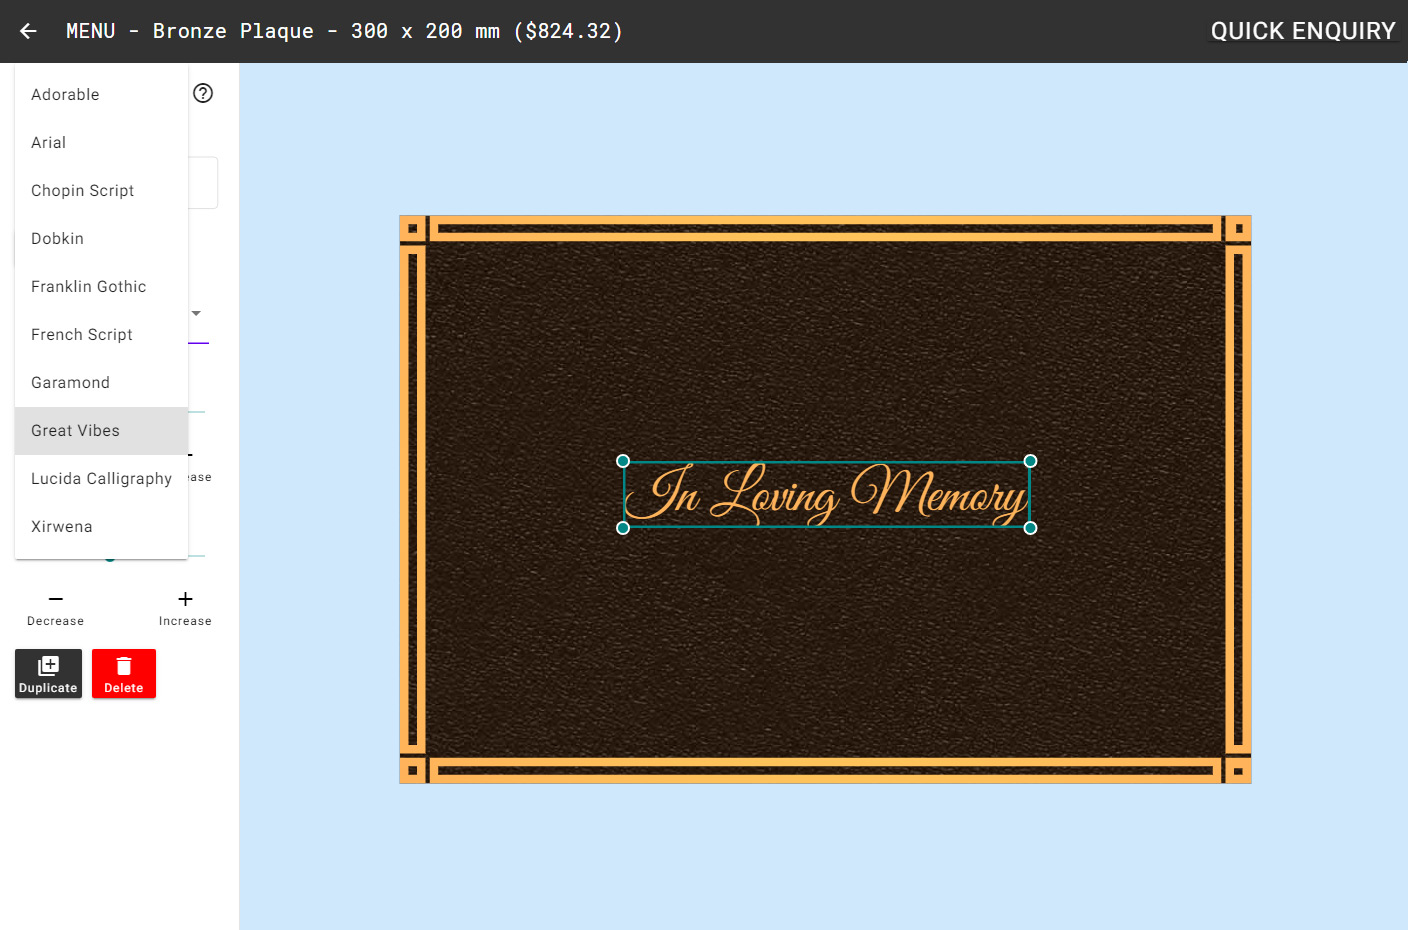
Step 2. Select font style.
Choose your desired font from the drop-down list ‘Select Font’. There are currently ten to choose from. Please contact us if you would like a different font.
Step 3. Select size.
Move the slider below Size to the left and right to decrease and increase the size of your inscription. You can also use the – Decrease / + Increase buttons. You can also re-size the inscription by clicking and dragging on one of the four circles on the corners of the bounding box surrounding your text on the design.
Step 4. Adjust rotation.
Rotate your text using the Rotation slider or the +/- buttons.
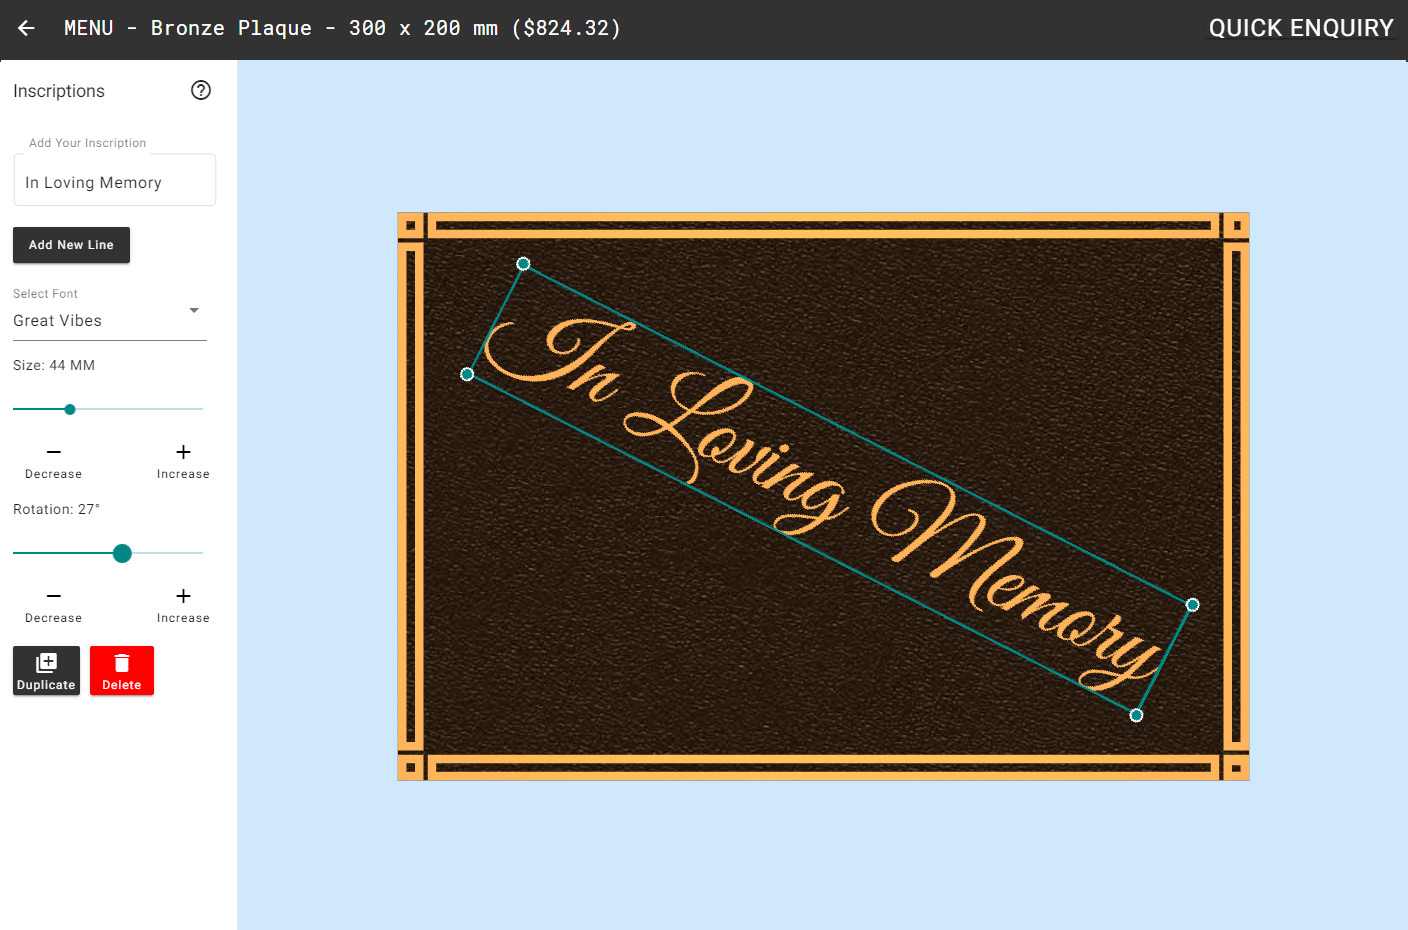
Step 6. Position your inscription.
Move the inscription to position by clicking and dragging the inscription on the design.
Step 7.
Too add more inscriptions either click the button ‘Add New Line’ and type your new inscription. Or, click on the ‘Duplicate’ button at the bottom of the left-hand menu and then edit the text in the box titled ‘Add Your Inscription’.
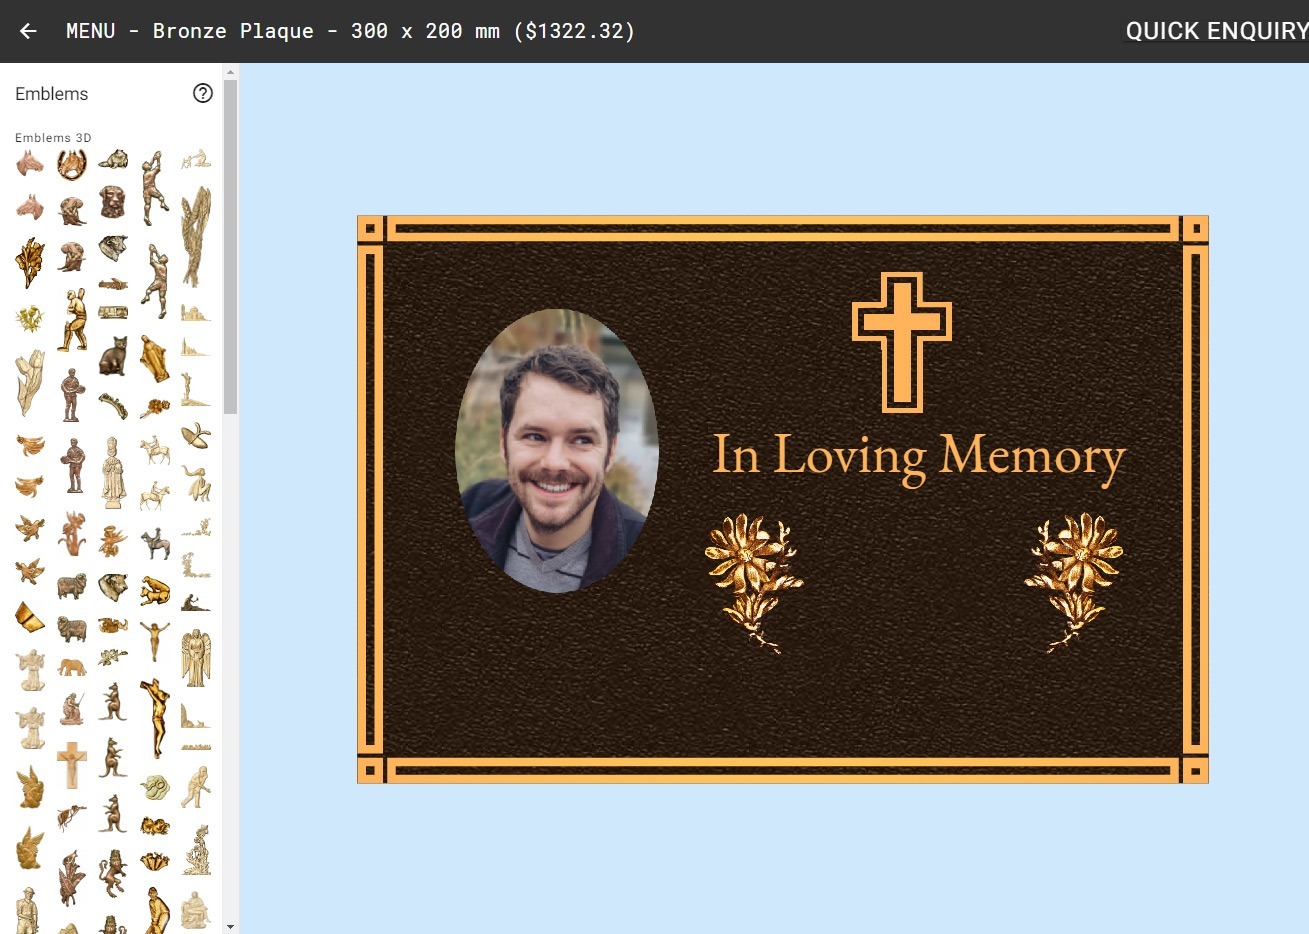
How to add Emblems to the Bronze Plaque ?
Emblems or Bas Reliefs are three dimensional mouldings highlighted in bronze.
Emblems come in a variety of themes in a number of fixed sizes.
Emblems help express feelings and ideas that might not be possible with words.
- Please note that the color of the emblem may differ slightly from that shown.
Instructions

Click on the “Emblems” in the Drawer Menu on the left side or click here to open Inscriptions Panel in a new tab.
Step 1. Add Your Emblem.
To add an Emblem, click on the emblem of your choice from among the emblems to the left. The emblem you choose will be added to your design and controls will appear in place of the emblems. To see more emblems, please go the bottom of the visible emblems and click ‘Load more’.
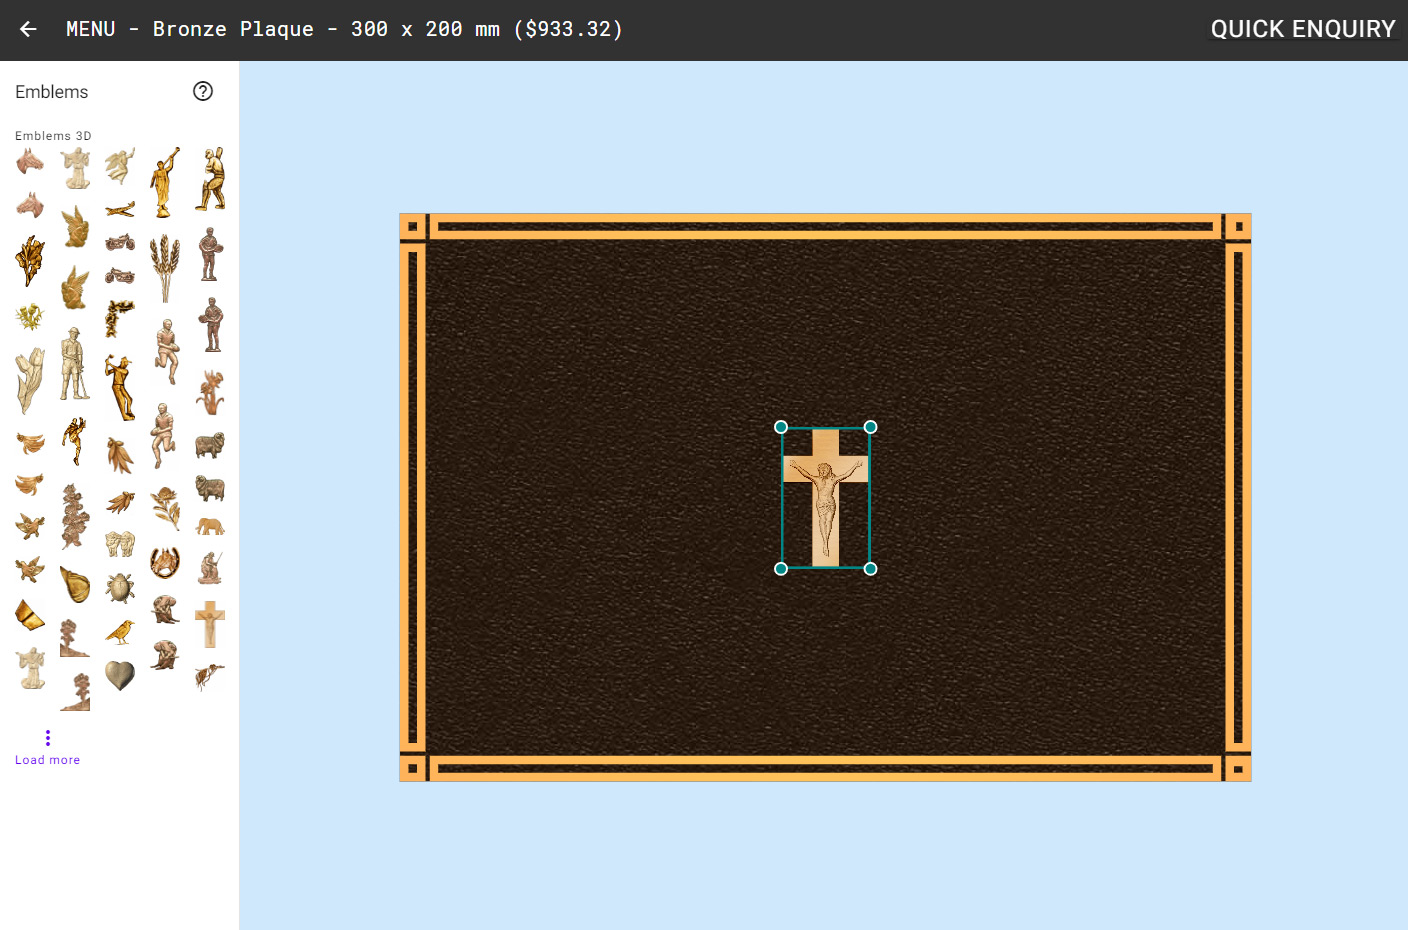
Step 2. Select size.
To re-size the emblem, drag the slider below Size left or right, or click on the – Decrease / + Increase buttons.
Alternately, click and drag on one of the circles on the corners of the bounding box enclosing your chosen emblem on the design.
Step 3. Adjust rotation.
To rotate your chosen emblem, use the slider below Rotation or click on the – Decrease / + Increase buttons.
Step 4. Position the emblem.
Click and drag on the emblem on your design to position it where you want.
Step 5. Flip X or Y emblem.
Use the ‘Flip X’, ‘Flip Y’ to flip your selected emblem horizontally or vertically. Use the ‘Duplicate’ button to duplicate your emblem. And use the ‘Delete’ button to delete your emblem (or, alternately, press the ‘Delete’ key on your keyboard).
How to add Images to the Bronze Plaque ?
Ceramic Image
Glazed ceramic overlay of a photo or image fired at 1000°C and fixed to the face of the design.
Full colour, greyscale and sepia tones available.
Able to select a cropped part of the image for your design.
Please upload the highest resolution image you have.
Heavy-duty coating permanently bonded to stainless steel.
Powdered glass fused to a stainless steel plate fired at temperatures reaching 850°C.
Full colour, greyscale and sepia tones available.
Highly durable with a 20 year guarantee.
You can select a cropped part of the image for your design.
Please upload the highest resolution image you have.
Instructions

Click on the “Images” in the Drawer Menu on the left side or click here to open Emblems Panel in a new tab.
Step 1. Add Your Image.
Click on a Ceramic Image or a Vitreous Enamel to upload and add an image to your design.
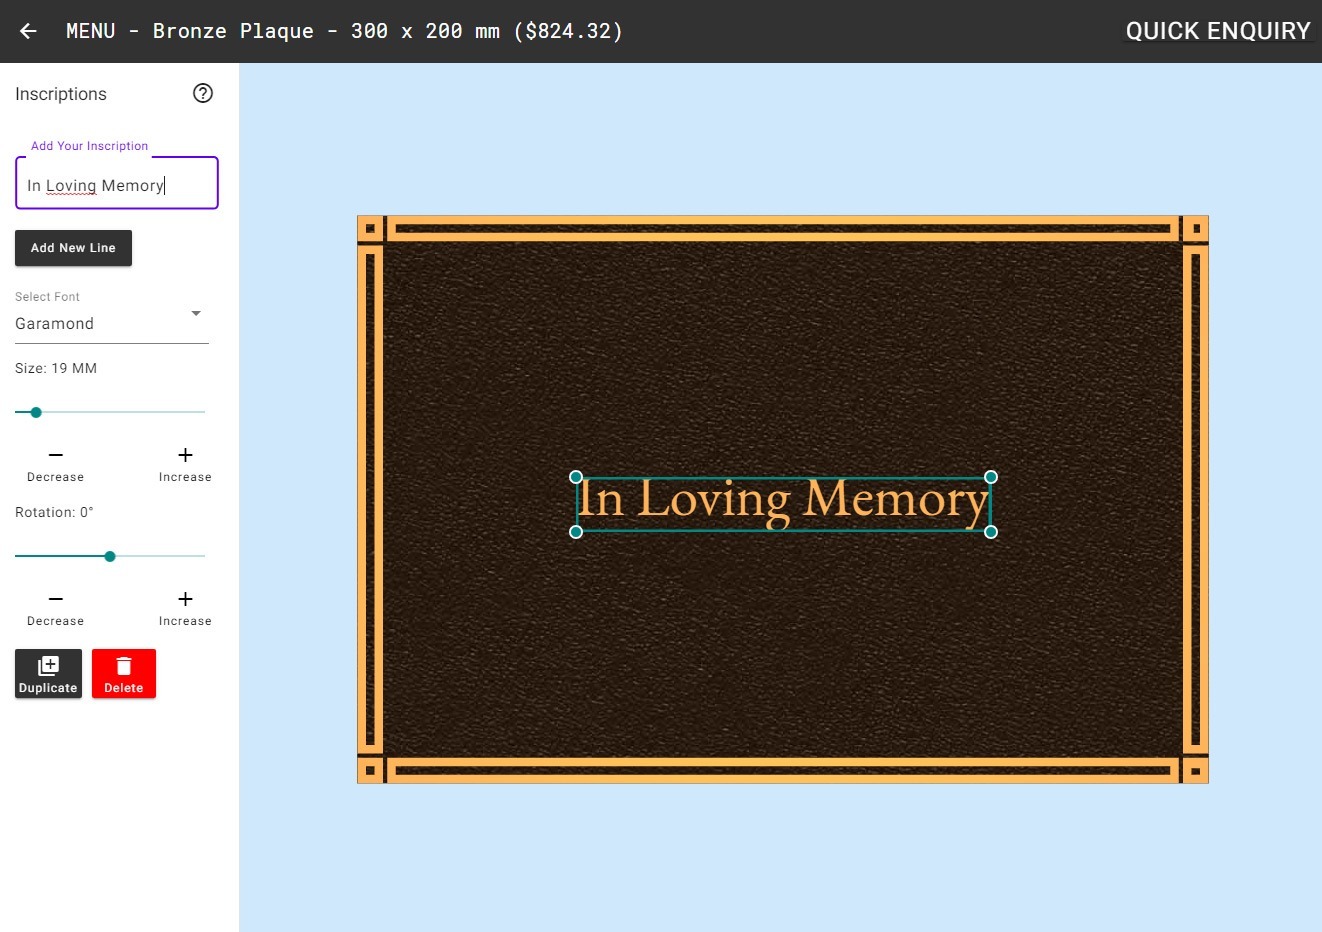
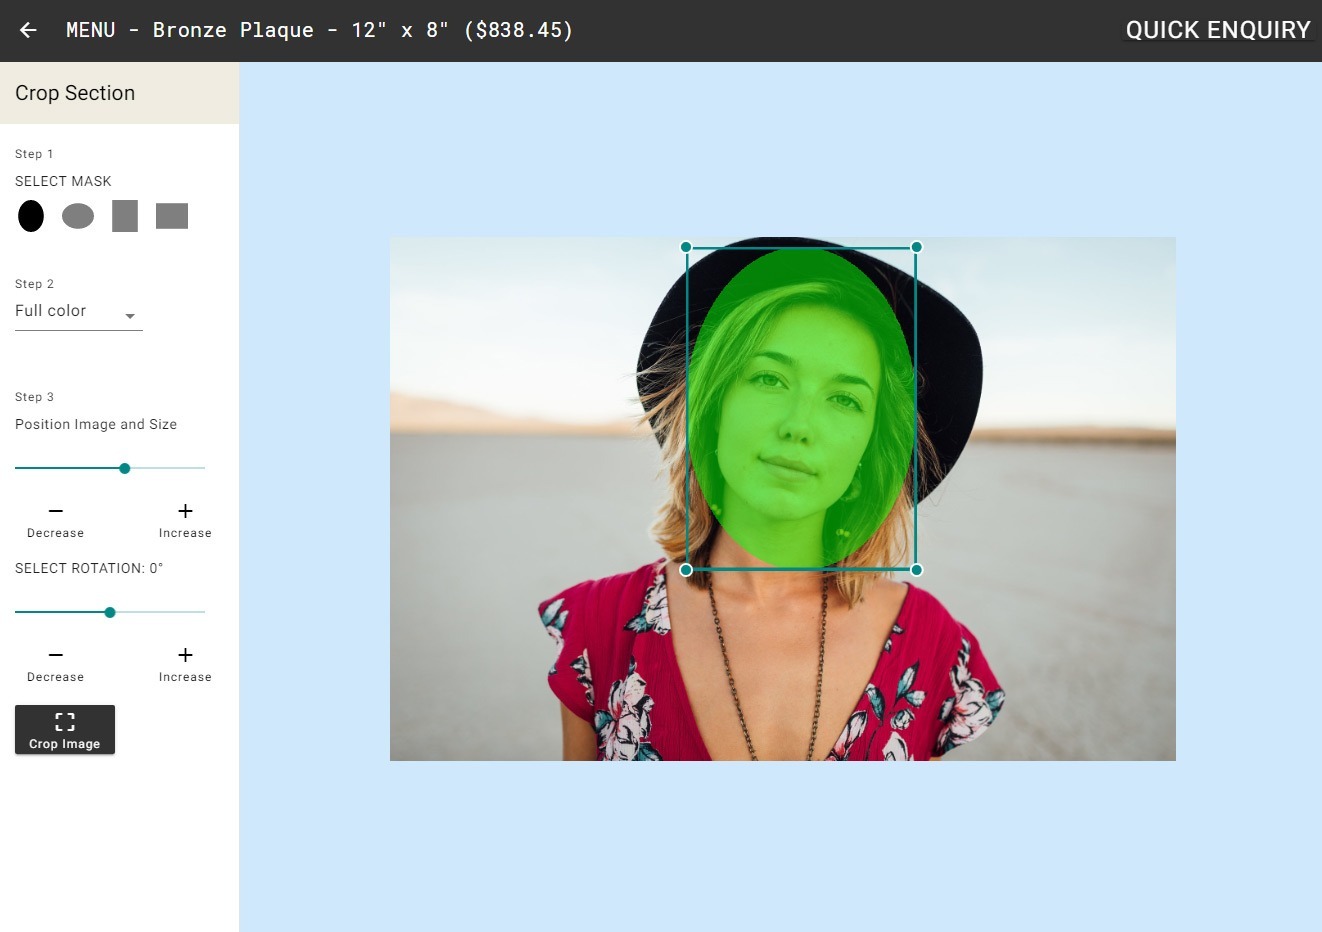
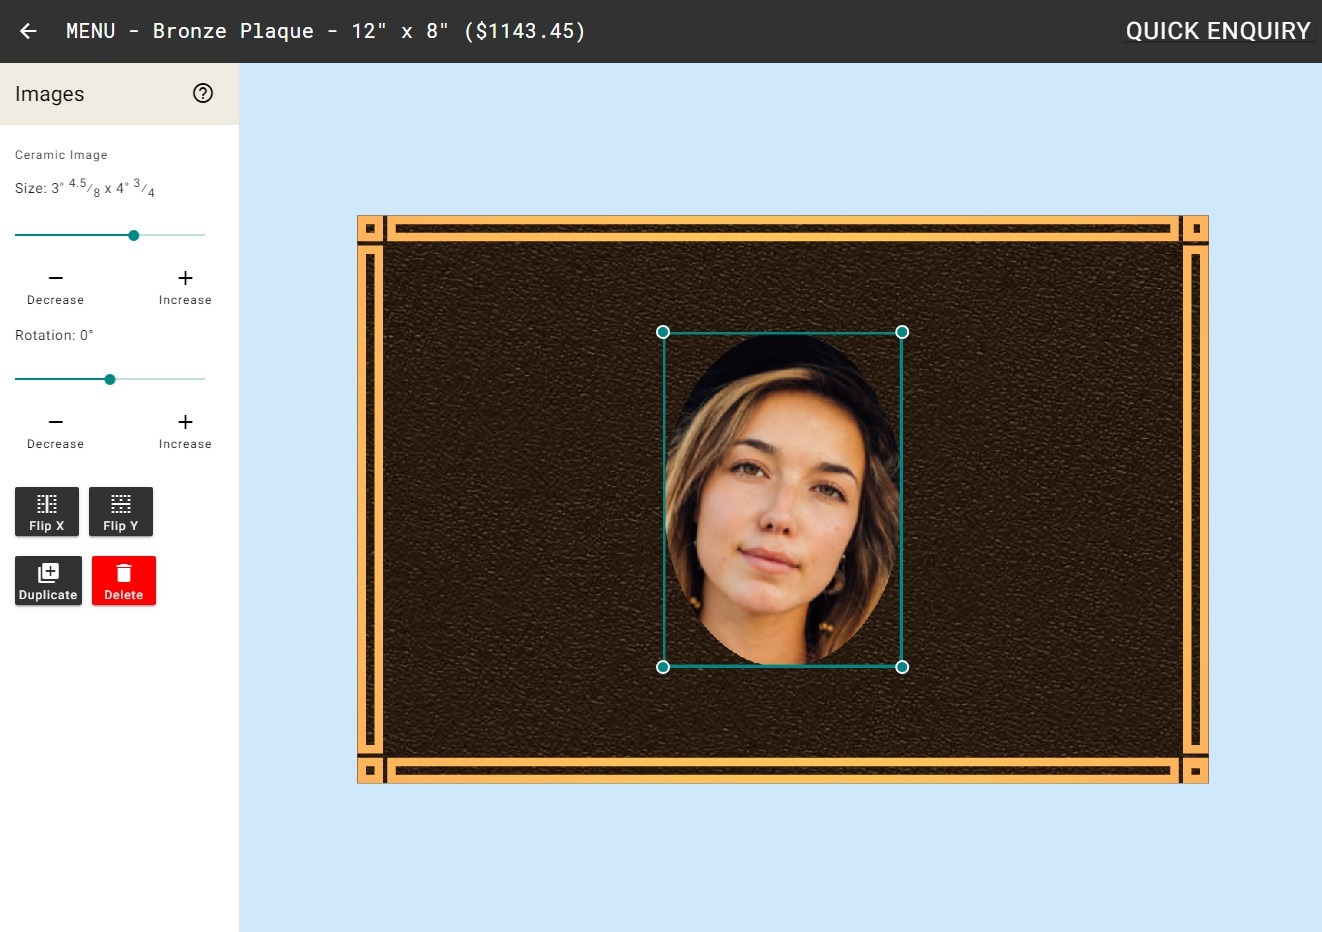
Step 2. Crop image.
Select Photo Mask – Oval Portrait, Oval Landscape, Rectangle Portrait or Rectangle Landscape.
You can adjust the colour of the Image to be Full color, Grey or Sepia.
Select the size of Photo Mask using sliders on the left side of screen or use Increase / Decrease button.
Alternately, click and drag on one of the circles on the corners of the bounding box enclosing your chosen image.
You can also select rotation for the image if it is upside down etc.
Once done, please click button ‘Crop Image’.
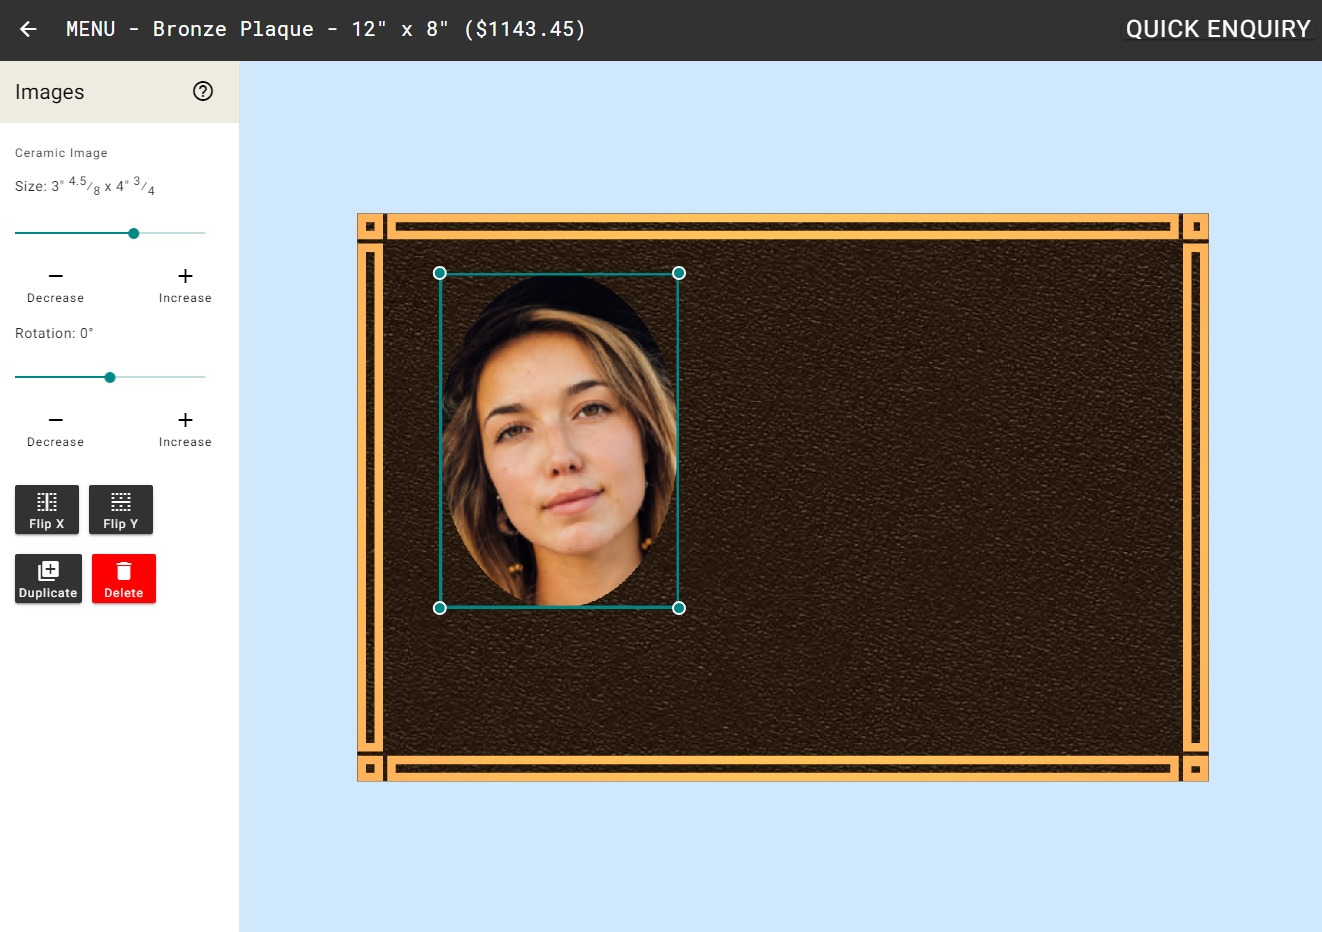
Step 3. Select size.
To re-size the Image, drag the slider below Size left or right, or click on the – Decrease / + Increase buttons.
Alternately, click and drag on one of the circles on the corners of the bounding box enclosing your chosen emblem on the design.
Step 4. Position the Image.
Click and drag on the Image on your design to position it where you want.

Step 5. Flip X or Y image.
Use the ‘Flip X’, ‘Flip Y’ to flip your selected emblem horizontally or vertically. Use the ‘Duplicate’ button to duplicate your image. And use the ‘Delete’ button to delete your emblem (or, alternately, press the ‘Delete’ key on your keyboard).
How to add Motifs to the Bronze Plaque ?
Motifs are two dimensional mouldings highlighted in bronze.
- Choose from a selection of 5000+ flat motifs to personalise your plaque, headstone, urn or ceramic image.
- Motifs range from religious symbols to flora and fauna, borders and flourishes.
- Motifs have a minimum size to ensure visible detail. The first motif is free.
Instructions

Click on the “Motifs” in the Drawer Menu on the left side or click here to open Emblems Panel in a new tab.
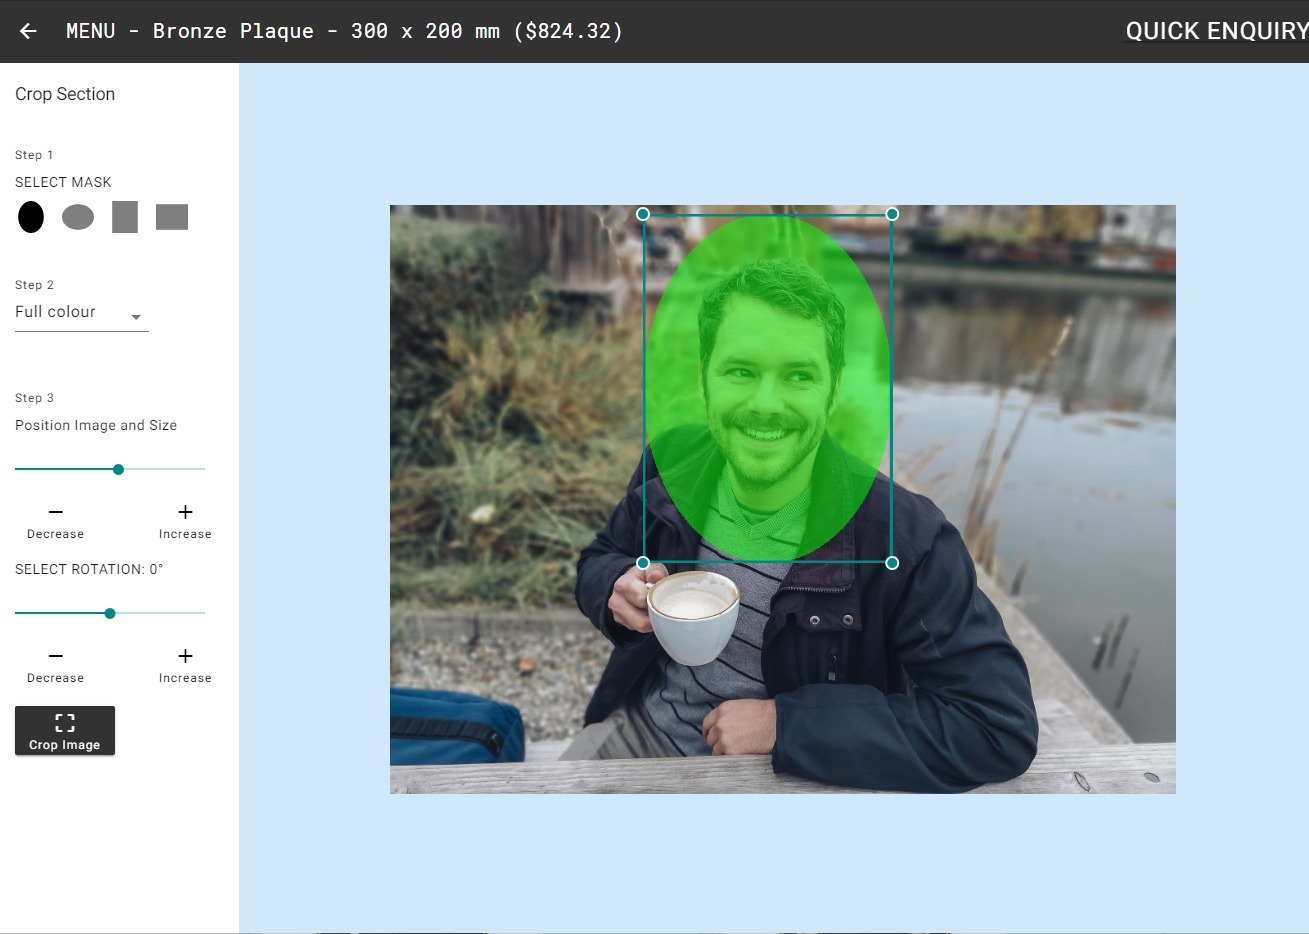
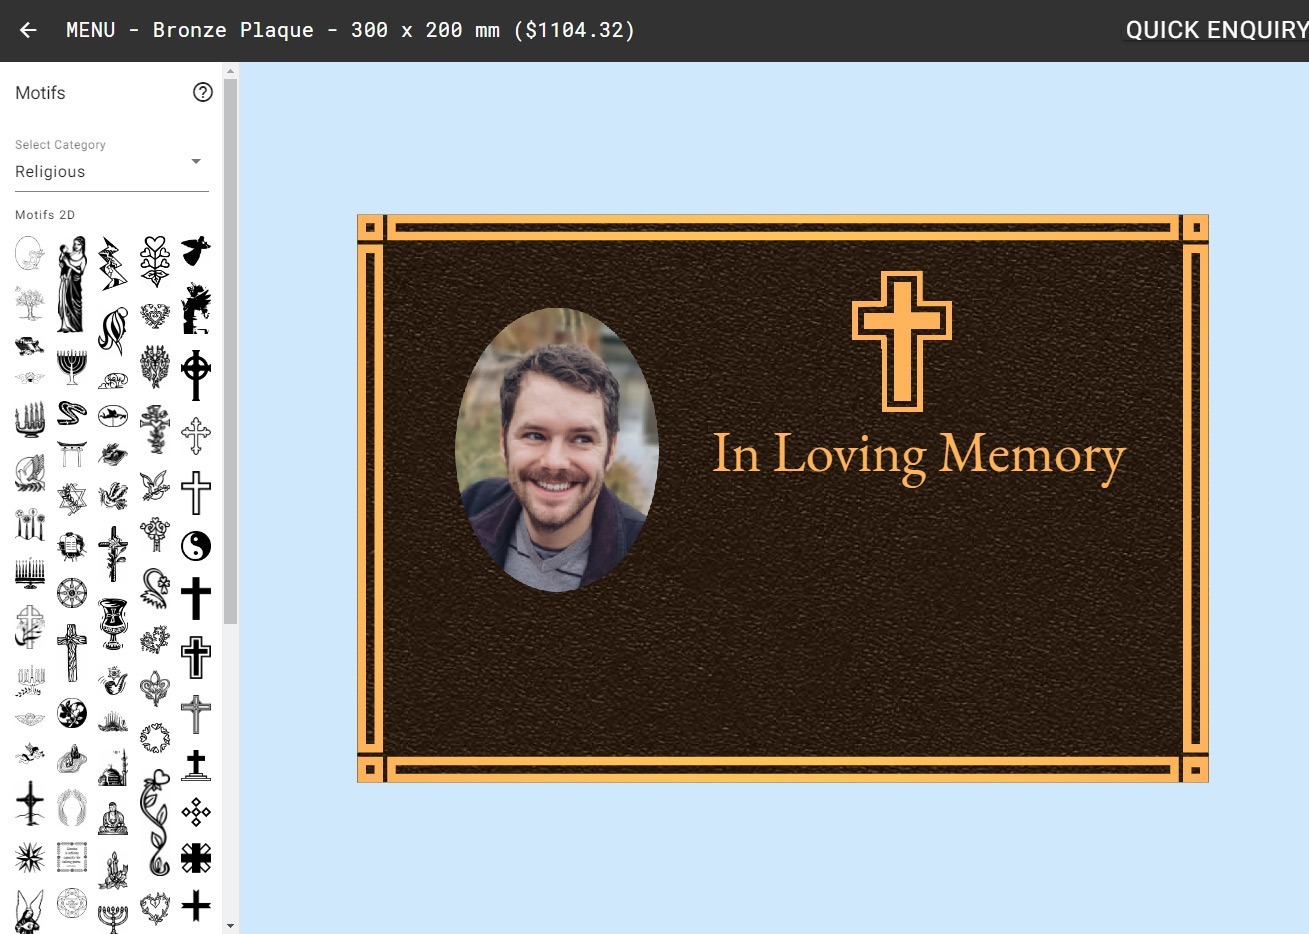
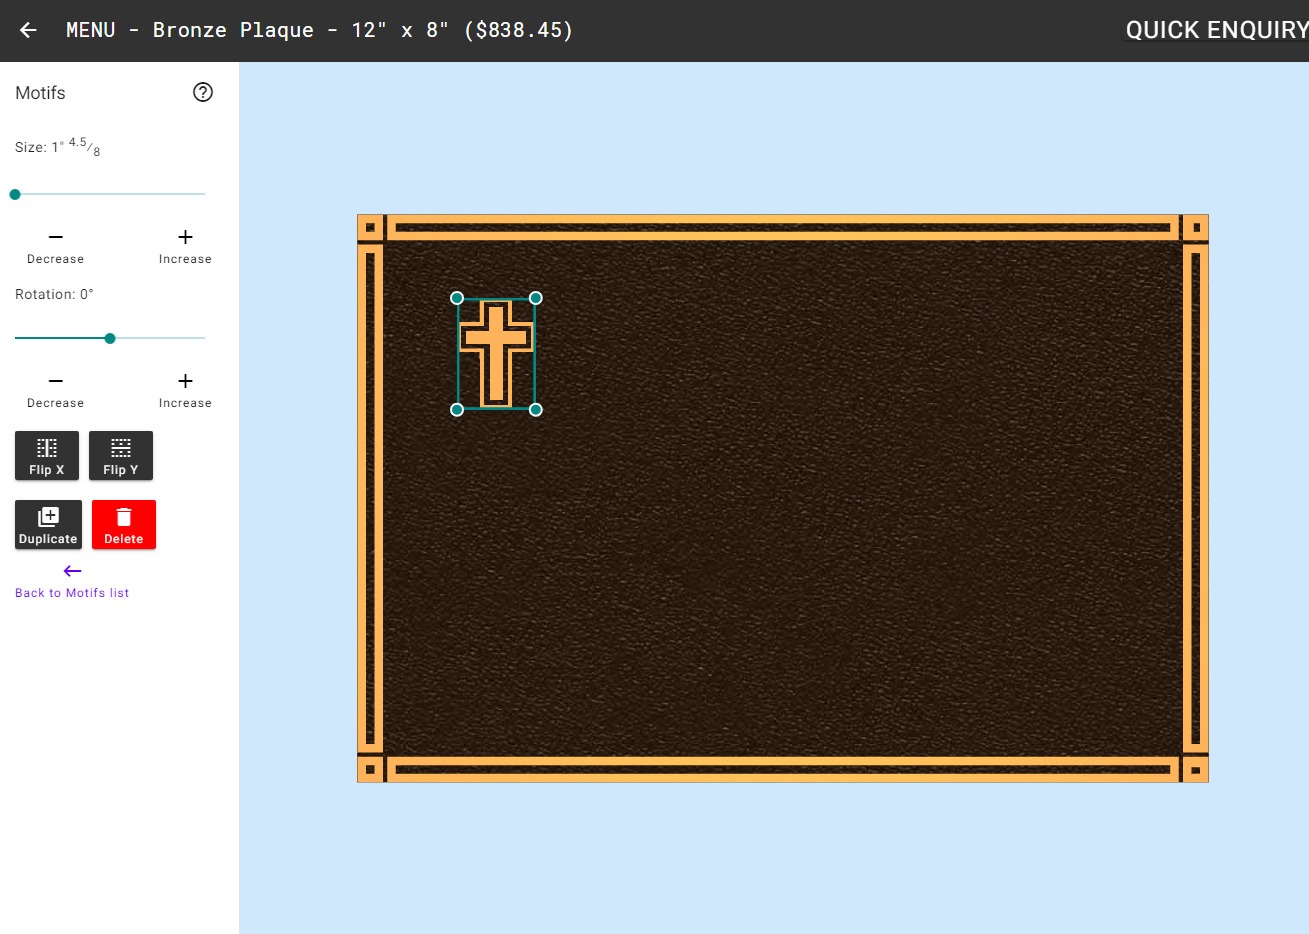
Step 1. Add Your Motif.
Click on a motif category to display all motifs in that category. For example, clicking on ‘Aquatic’ will show aquatic motifs. If you want to see more motifs in the same category, click ‘Load more’ at the bottom of the list of motifs. If you want to change the motif category, click on the drop-down list indicated by the small downward-facing triangle just below ‘Select Category’.
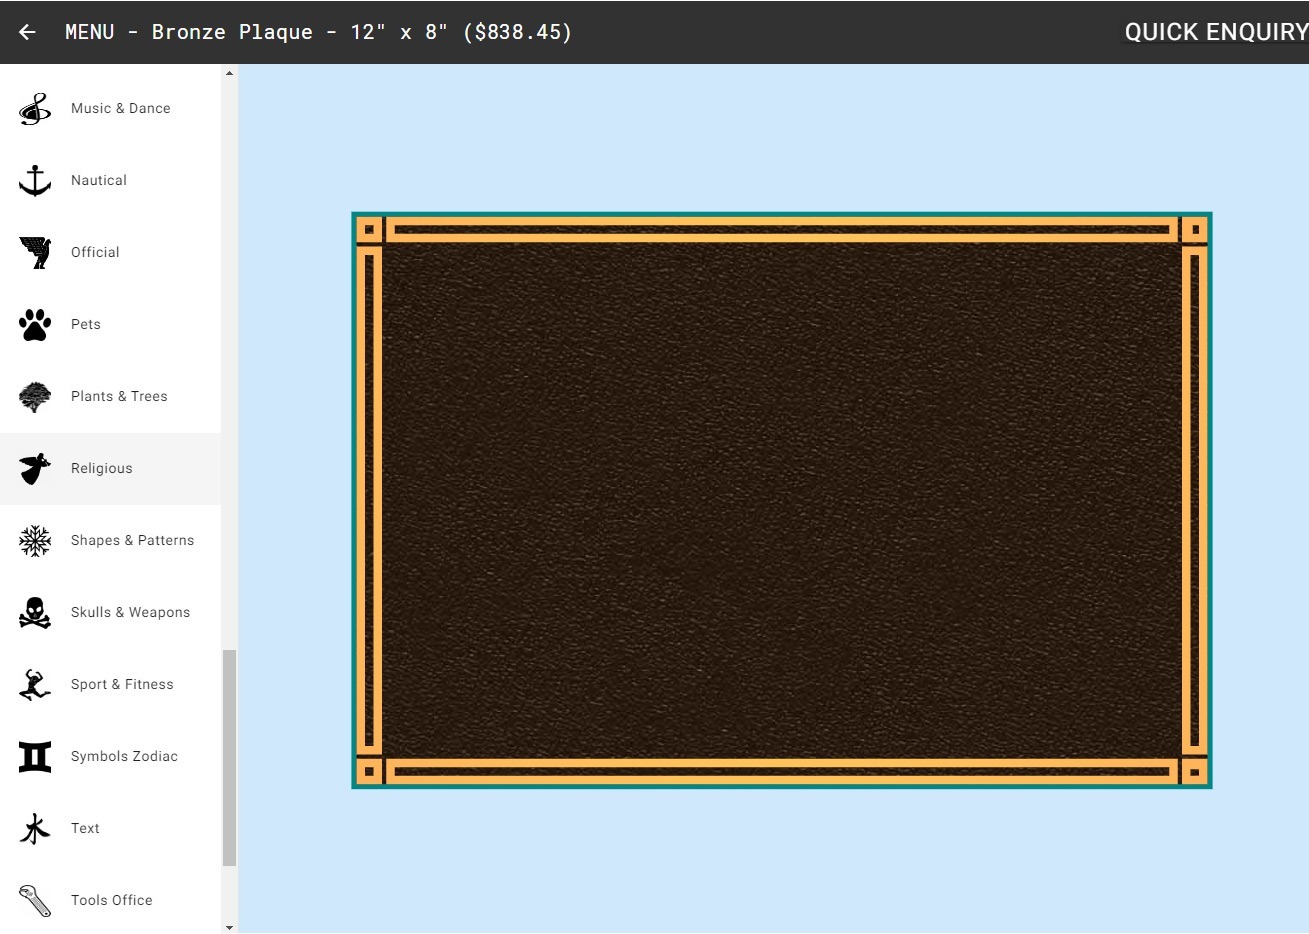
Add the motif you want by clicking on it from among the displayed motifs. Your motif will be added to your design, and motif control buttons and sliders will appear on the left.
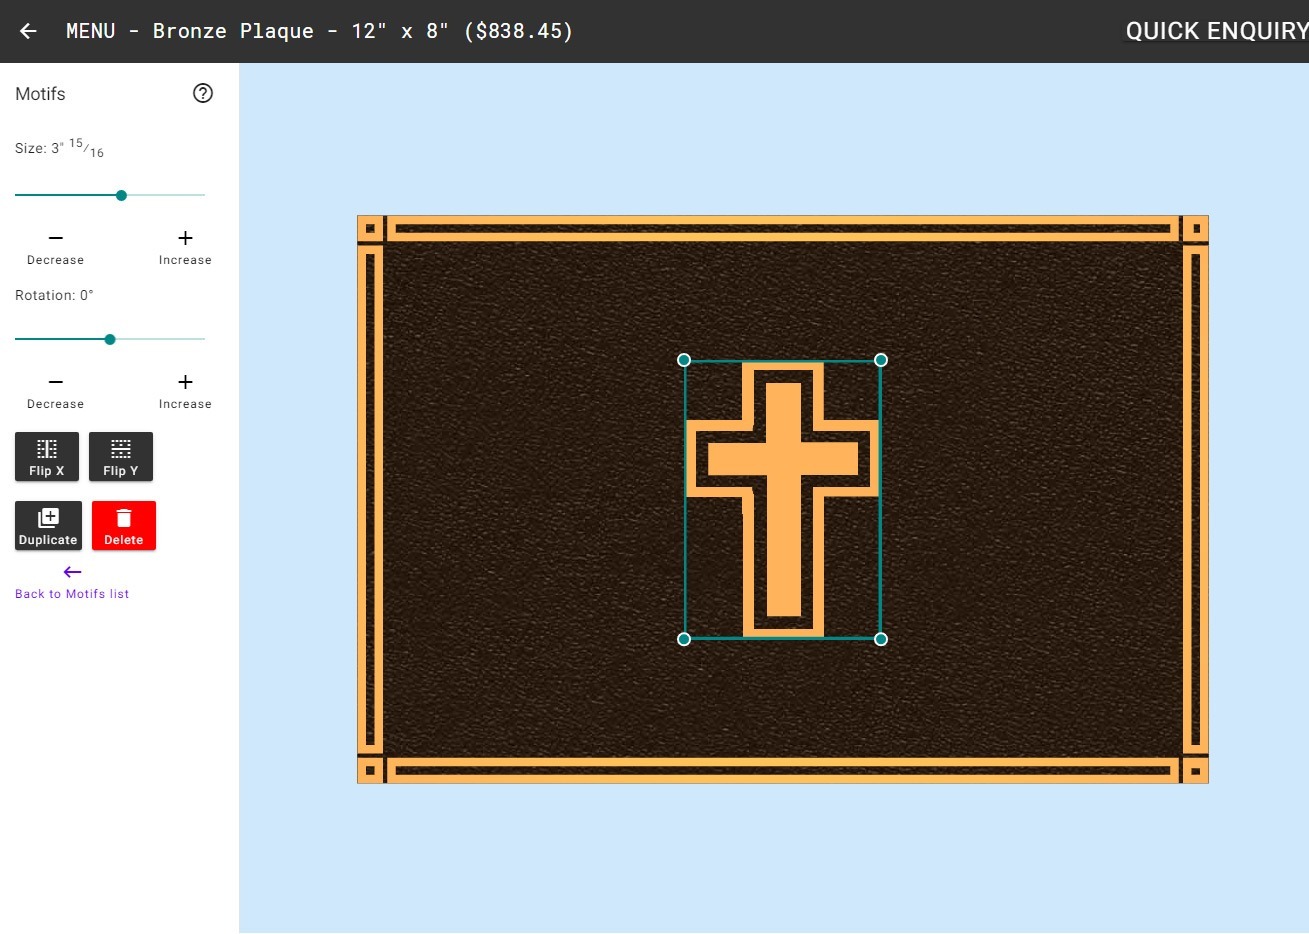
Step 2. Select size.
To re-size your chosen motif, drag the slider below ‘Size’ or click the – Decrease / + Increase buttons in the control panel. Alternately, click and drag one of the four circles on the corners of the bounding box surrounding your motif on the design.
Step 3. Adjust rotation.
Rotate your chosen motif by dragging the slider below ‘Rotation’ or clicking on the – / + buttons below it.
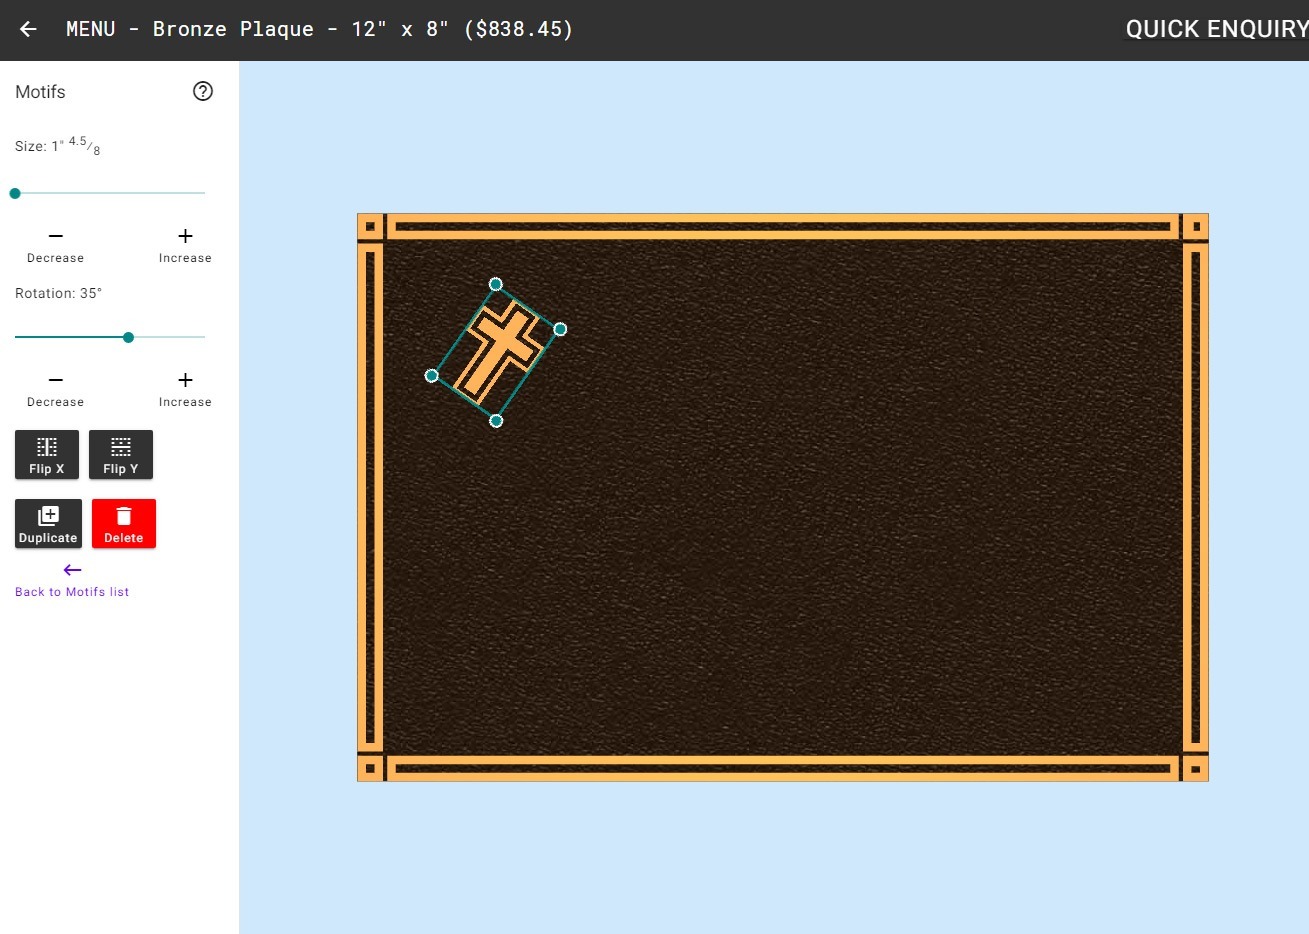
Step 4. Position the motif.
Click and drag on the motif on your design to position it where you want.
Step 5. Flip X or Y emblem.
You can flip your chosen motif if wanted by clicking on the ‘Flip X’ and ‘Flip Y’ buttons. These flip the motif in both horizontal and vertical axes. You can also Duplicate and Delete your motif by clicking on the respective buttons. Pressing ‘Delete’ on your keyboard will also remove the motif from your design.
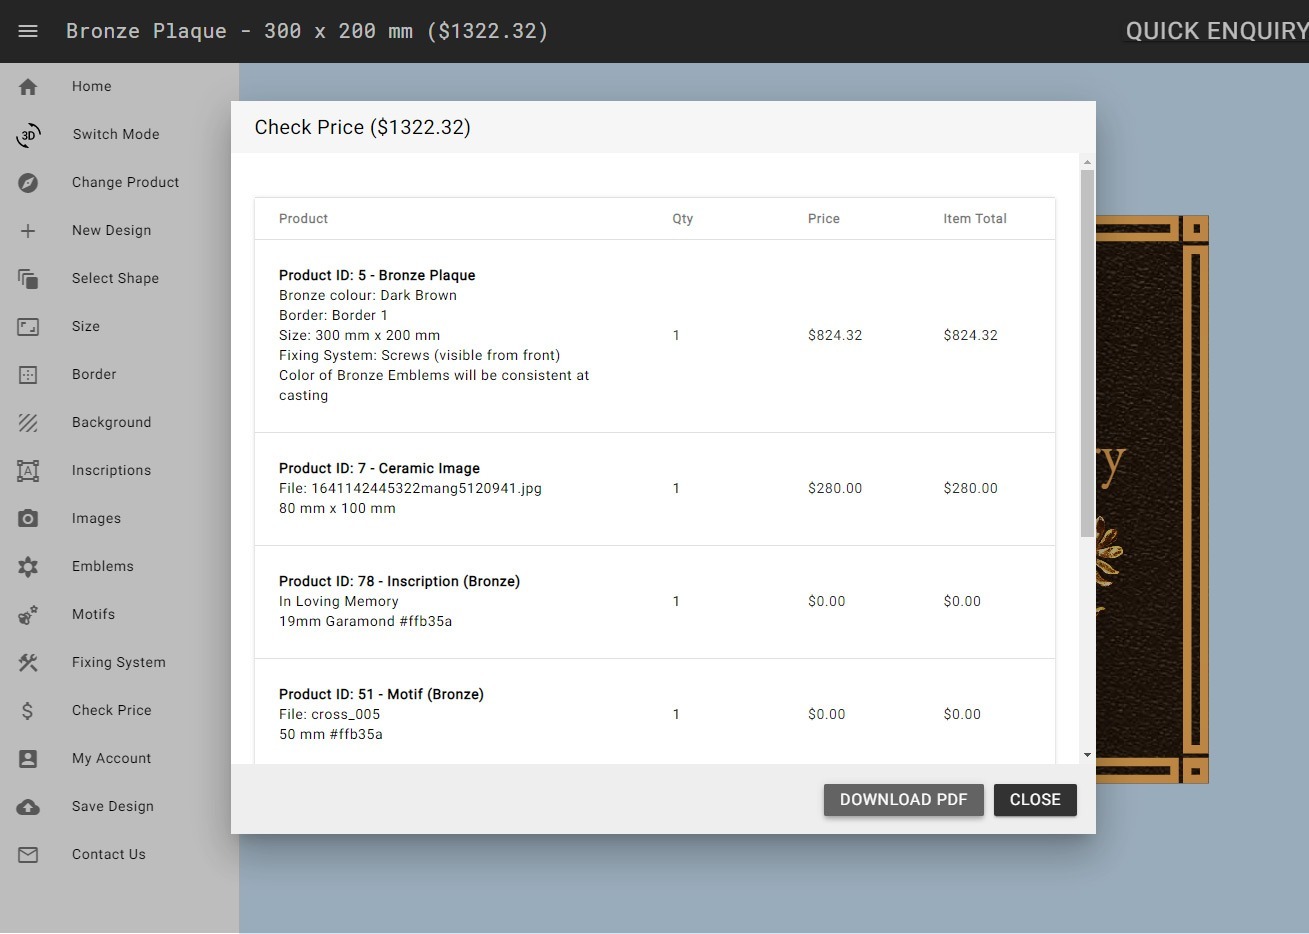
The cost of the adding motifs to your design will show in the total cost in the header. Or see Check Price in the main menu for the individual cost of your chosen motifs.
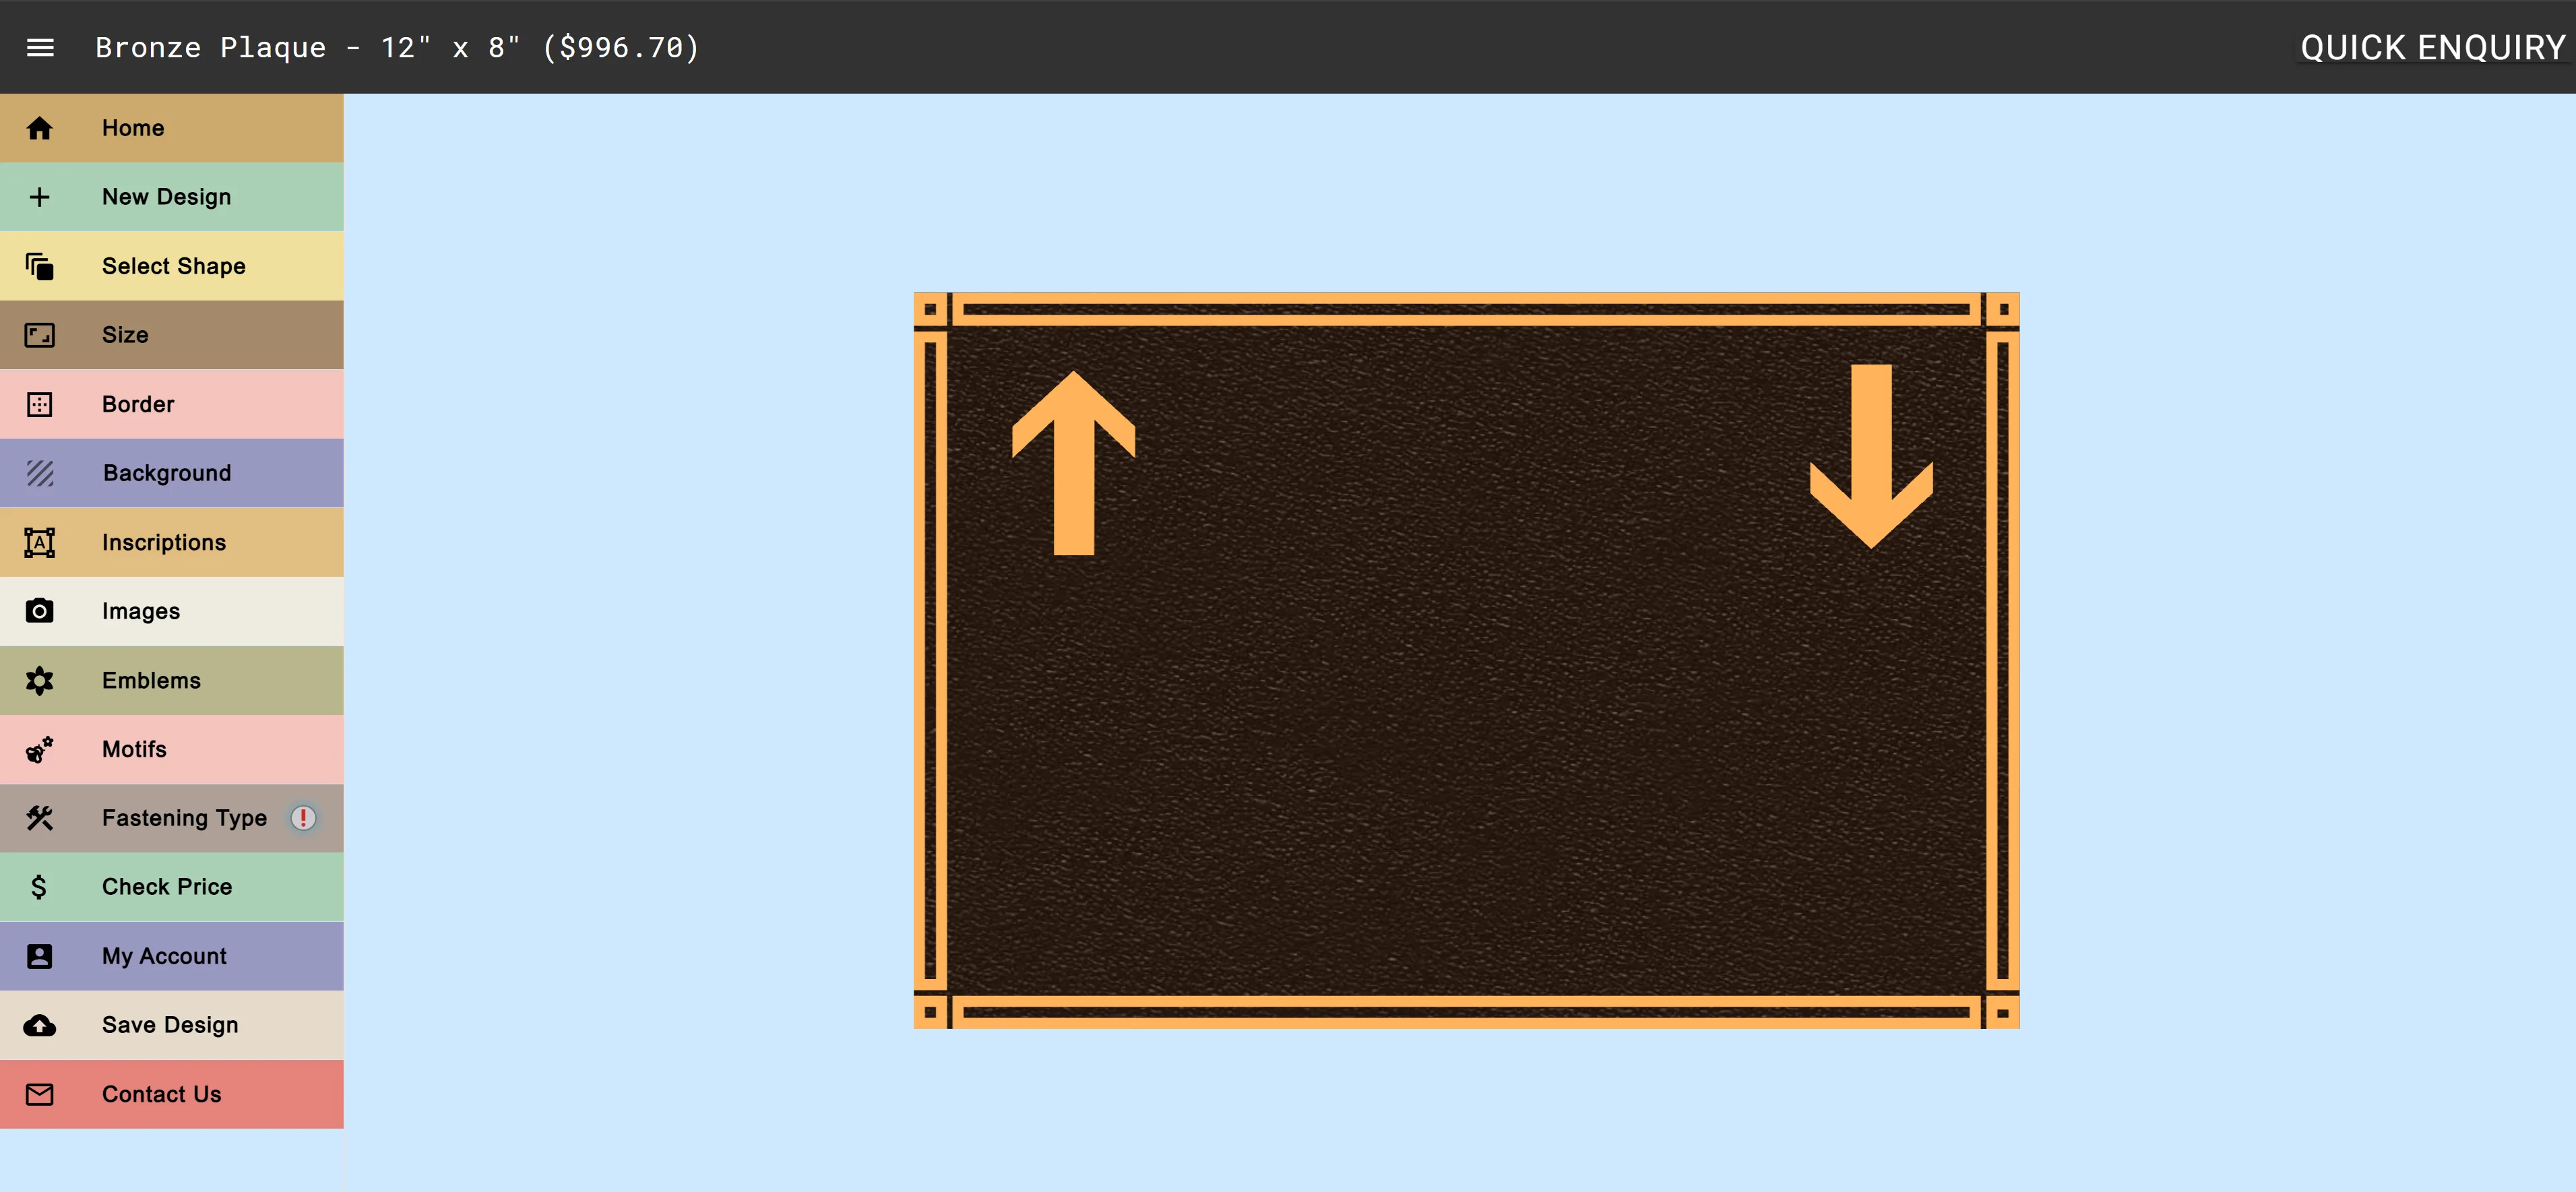
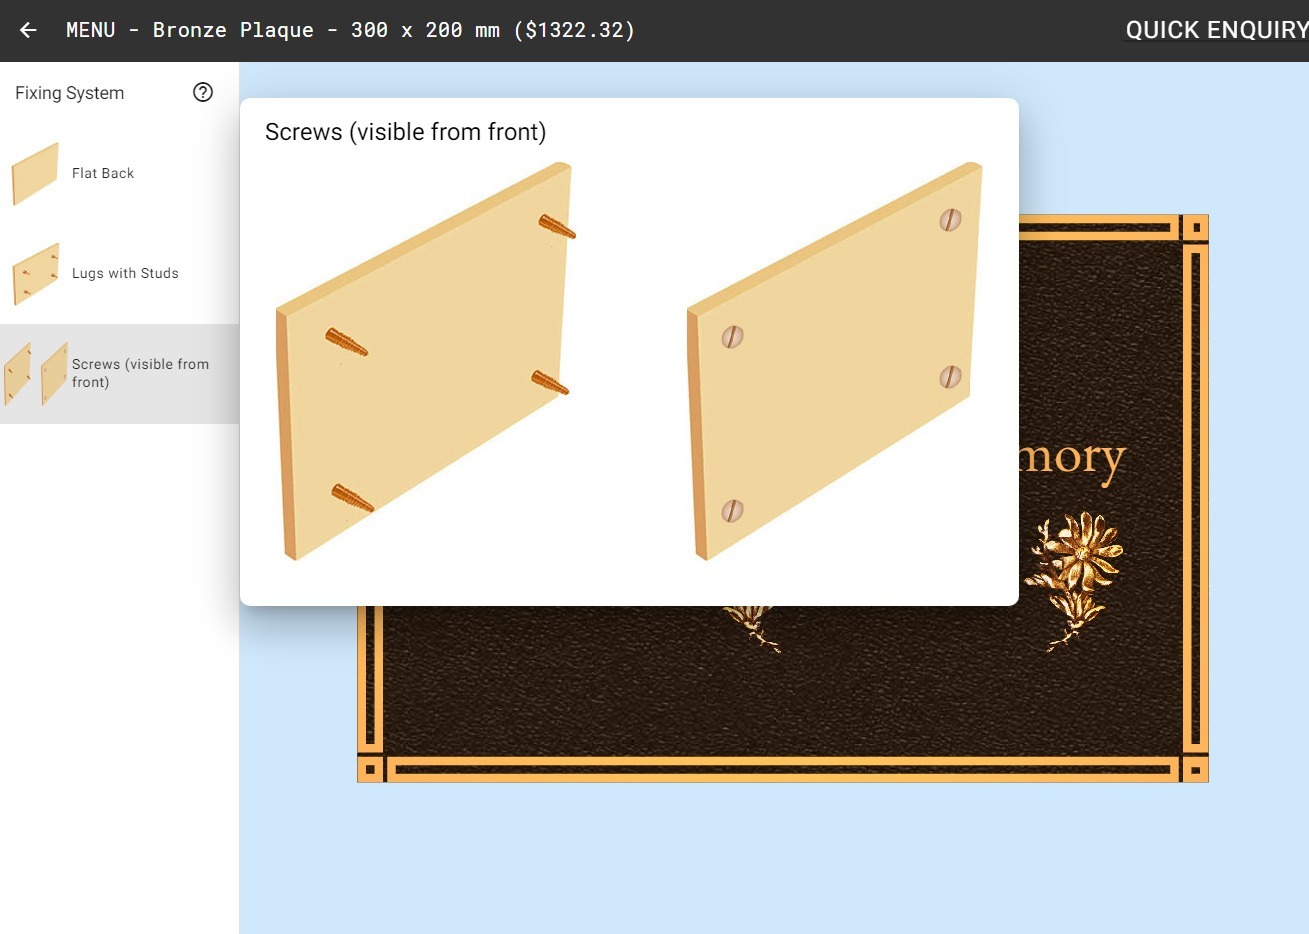
How to change Border for the Bronze Plaque ?
Borders further enhance the plaque and are raised above the background surface of the product.
A full-edge border can be aesthetically pleasing, enclosing the design and increasing the strength of the product.
Please choose from the available borders listed here. Alternative decorative borders, custom designed borders and bevelled and painted borders are available upon request.
Border width will vary depending on the size of the plaque. Most have a maximum width of 10-12mm.
Instructions

Click on the “Borders” in the Drawer Menu on the left side or click here to open Emblems Panel in a new tab.
Step 1. Select Border.

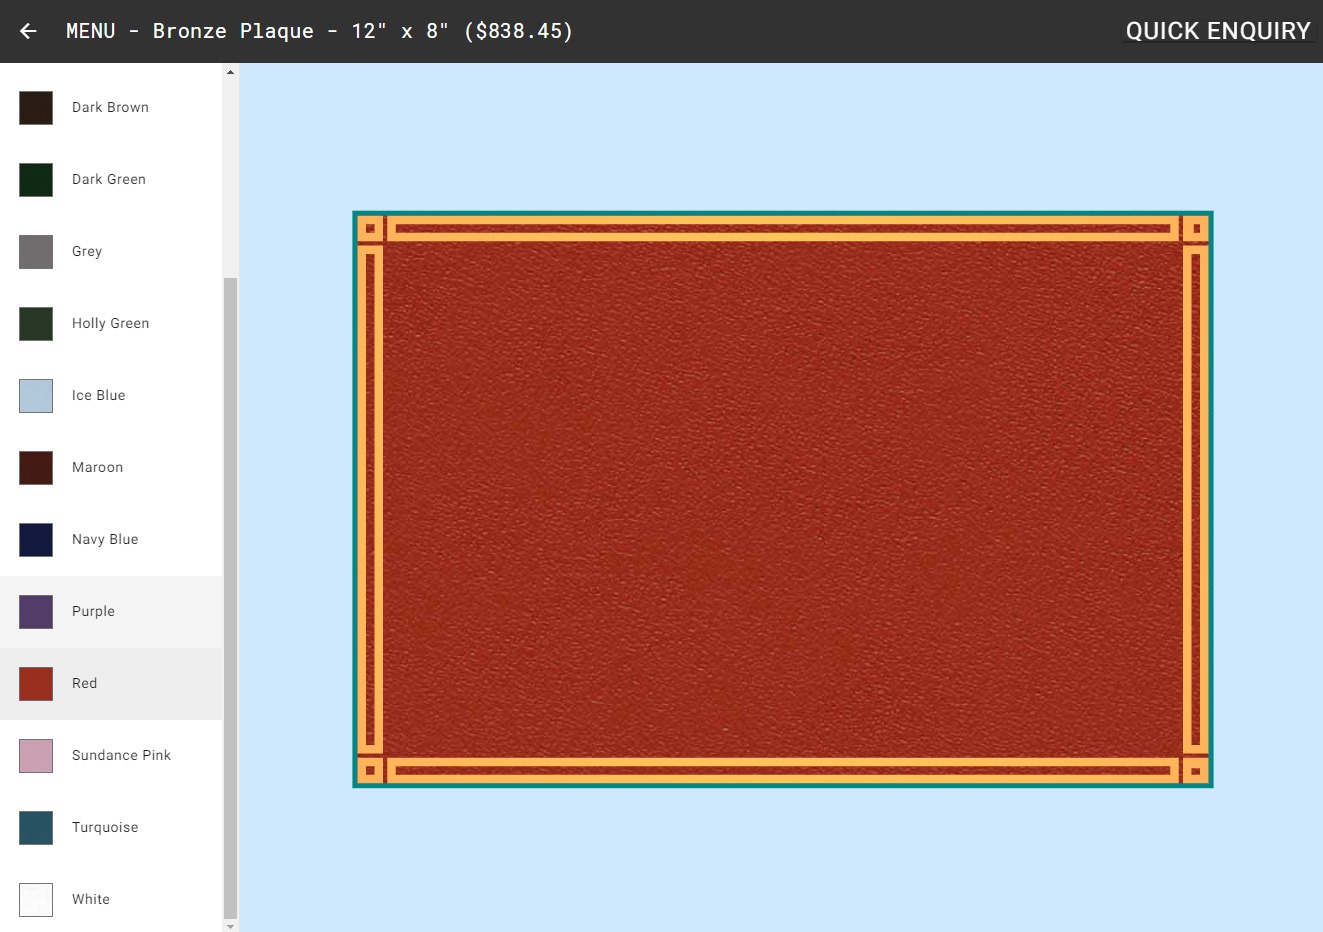
How to change Background for the Bronze Plaque ?
The background of the bronze plaques are painted with a high quality paint of your selected color.
The top surface of the inscription, motifs, emblems and border are then machined to highlight the natural bronze color.
To finish, the whole plaque is sealed with a high quality clear lacquer that helps preserve the bright shiny color of the natural bronze.
Instructions

Click on the “Background” in the Drawer Menu on the left side or click here to open Emblems Panel in a new tab.
Step 1. Select Background colour.
Personalize Your Bronze Plaque: Design a Unique Tribute
Experience the advantages of personalization with our custom bronze plaques. Choose from various background colors, border styles, and fonts to create a plaque that truly reflects your vision.

Design Your Own by Forever Shining
Available 24/7 for you to use
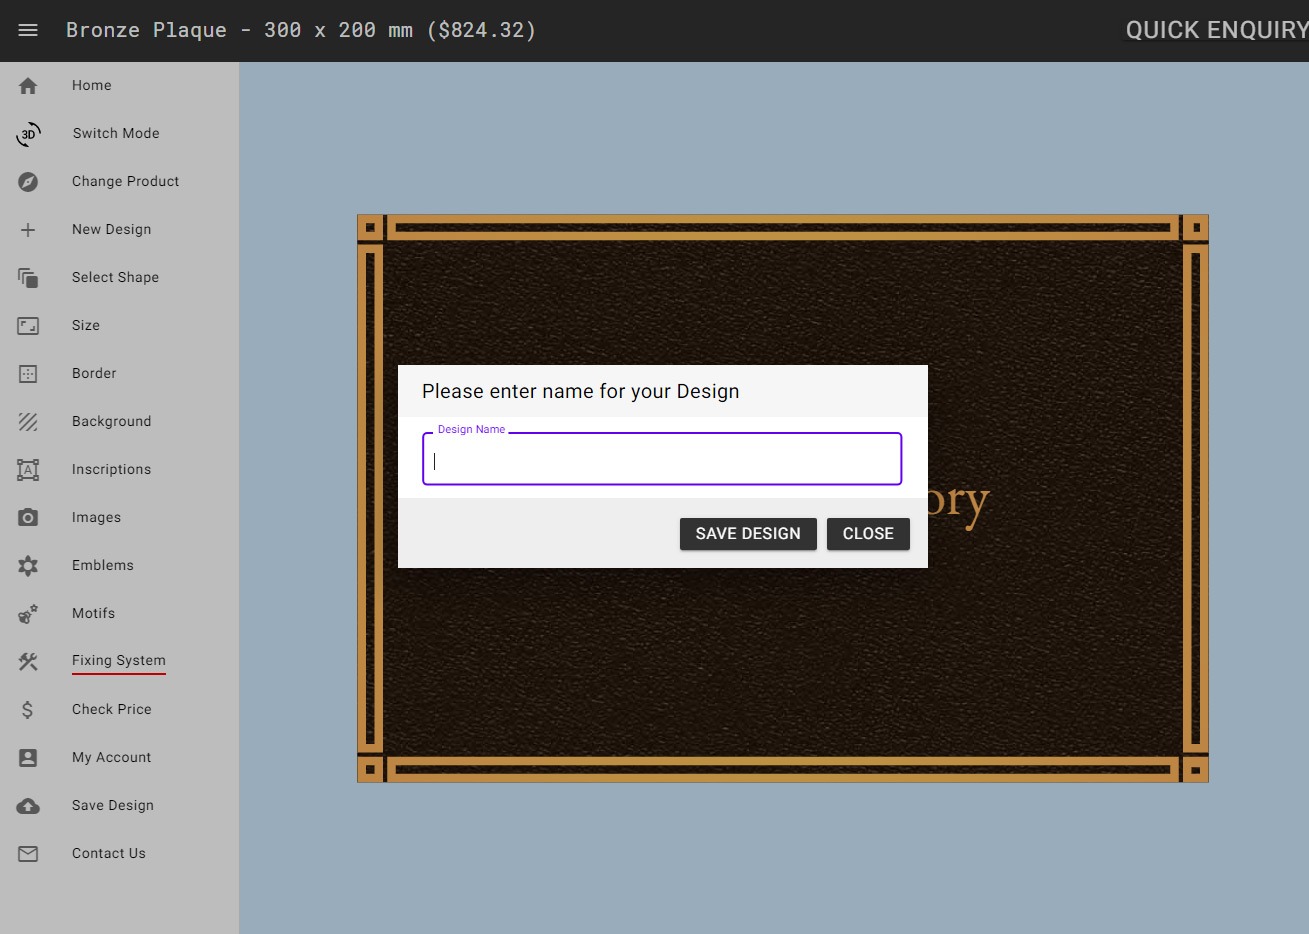
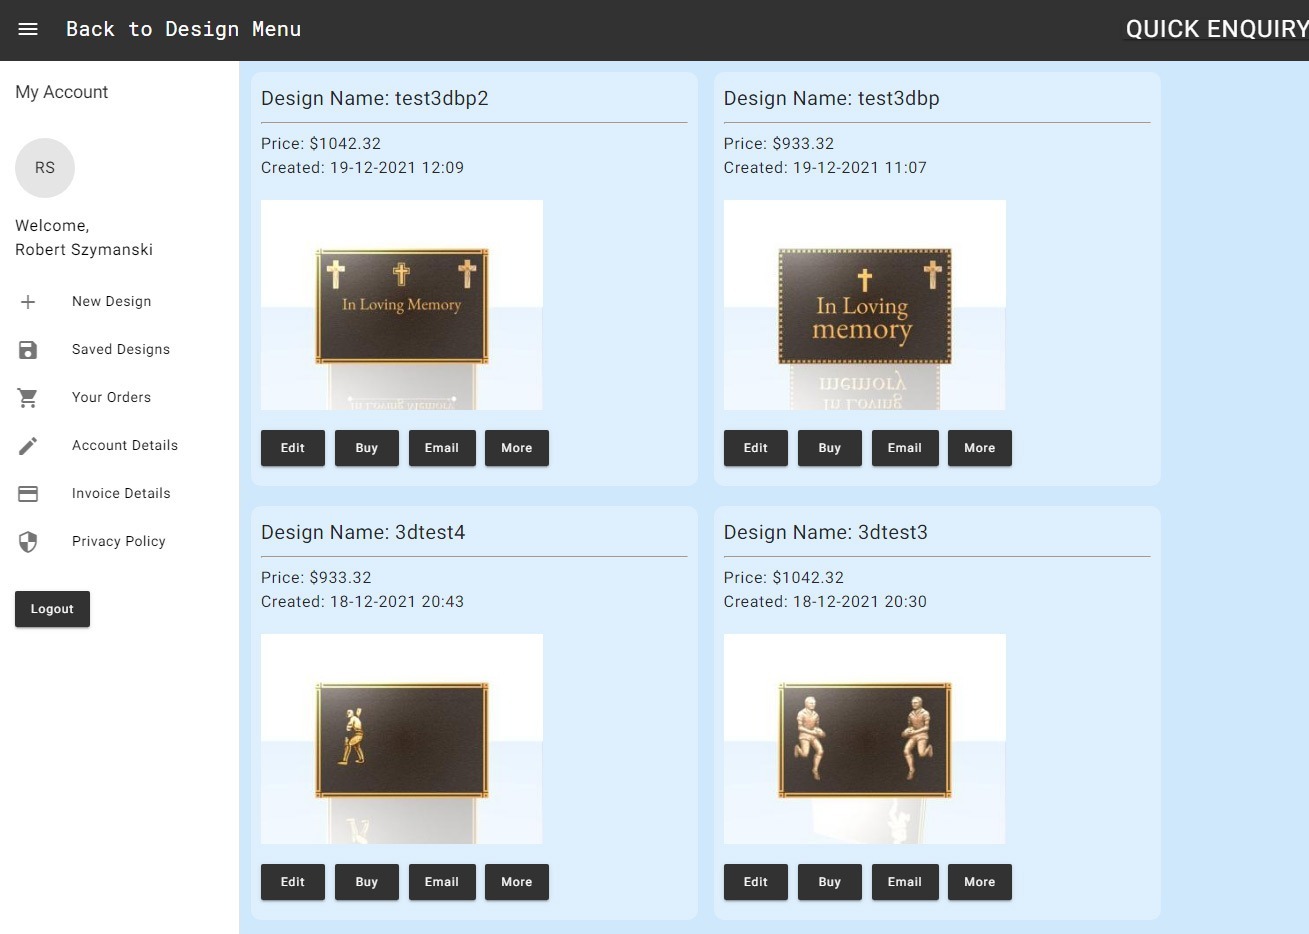
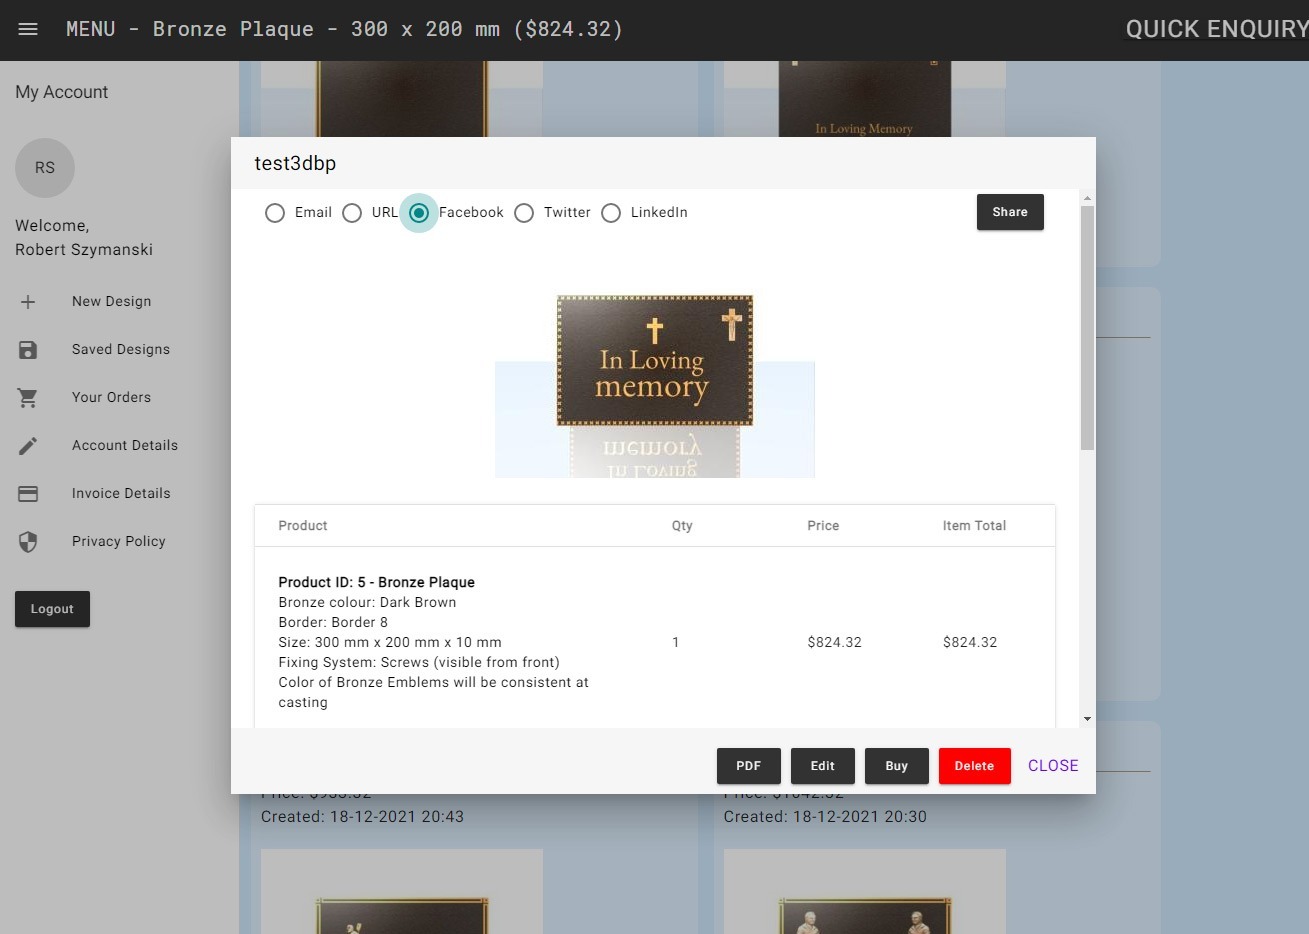
Save & Edit Design, Send to Family
5K + motifs to use for free during the design
Realtime design visualization and instant price calculation
Unlimited designs option
Cemeteries or other companies
Must book appointment
No Design Your Own option available
Need to select motifs from the book
Endless waiting for price calculation, when any change is requested
No free designs, each design cost money
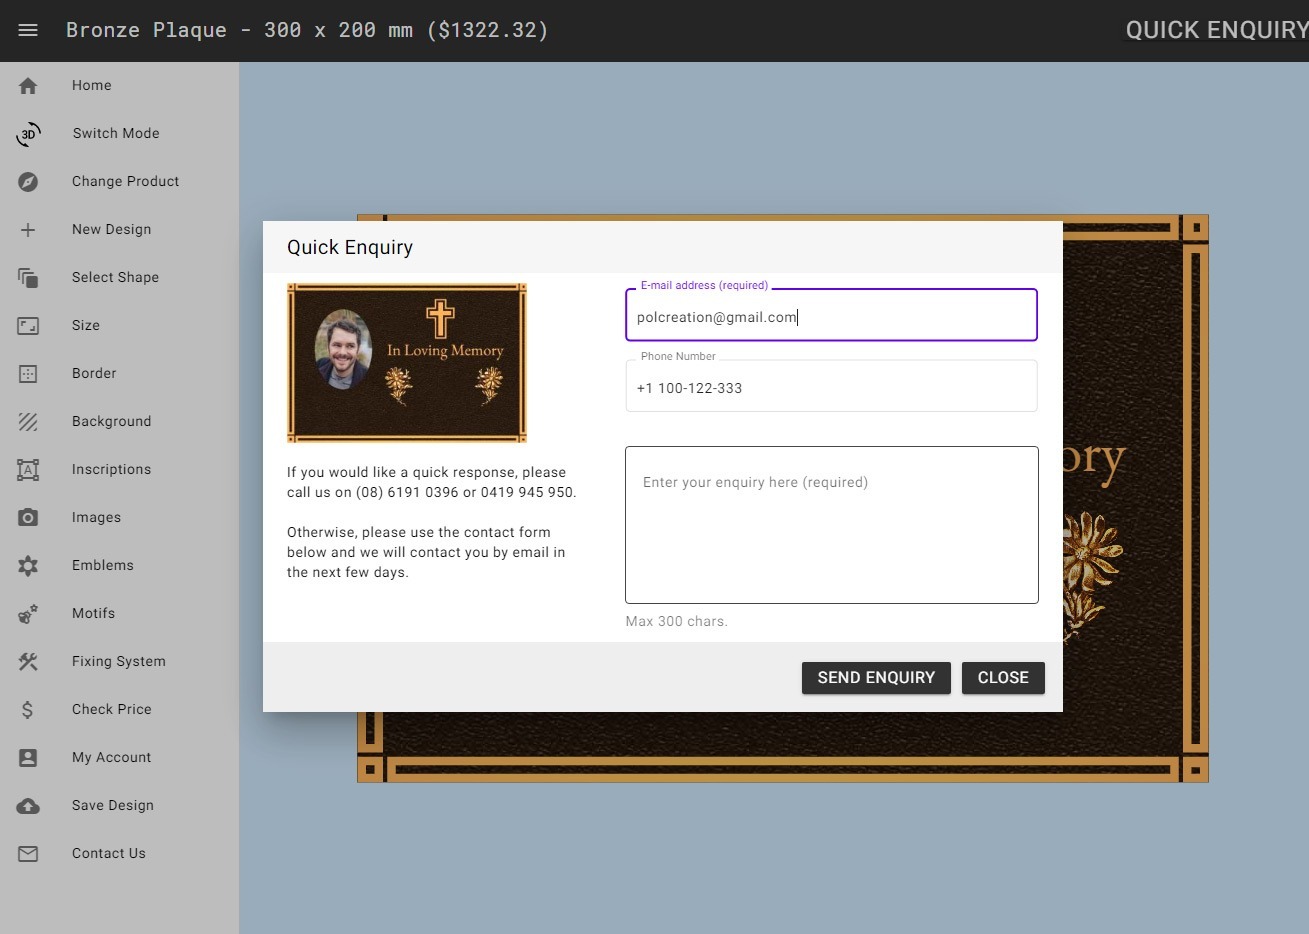
Design Your Custom Bronze Plaque Online in Minutes
Design your own bronze plaque online without the hassle of visiting cemeteries, making appointments, or spending days on planning. Instead, our user-friendly design tool gives you complete control—whenever and wherever you need it!